Not to long ago I told you about my fear of drawing (inability to) and that
Yoli talked me into taking an online class,
"Les Petites Dolls" by Suzi Blu, featuring her amazing mixed-media techniques for drawing, collaging, layering, texturing & encaustic (beeswax) work. By the end of week 2,
Belén,
Kathy and
Cyndi had succummed - and, probably by tomorrow,
Nicole will have joined up too! We've managed to get
Kiff into the community - now we just need to get her to sign her cute self up. Tamie and Missy (of
Pimp Stitch) have also been thinking about it (peer pressure!!).
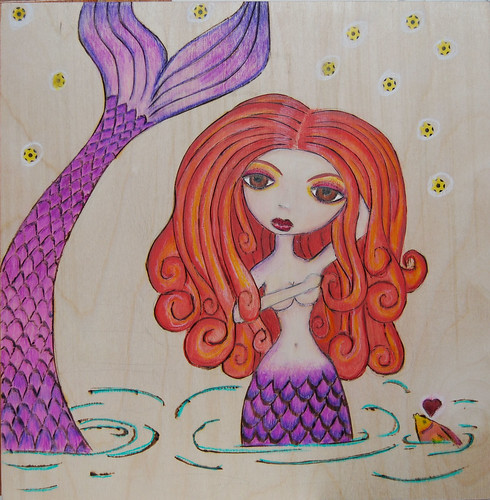
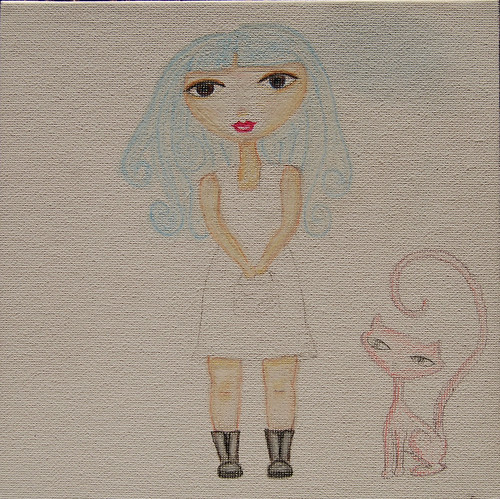
My first assignment piece, which is what Suzi calls a "pretty girl on wood," has kept me busy for the last week and she's not quite done yet. However, I thought this would be a fun place for me to take you through the step-by-step changes as they've happened. I went back yesterday to look through my first few pics and it felt like archeology - uncovering layers and going backward in time - and I realized I'm pleased with the process and the progress.
IMPORTANT NOTE: Because these are Suzi's techniques and she supports herself by teaching them, I'm not in a position to give any more details than I already am below. However, if you're already in the class, you can message me and I'll provide more info). Wood Fairie - Mixed-Media with Suzi Blu "Les Petites Dolls"
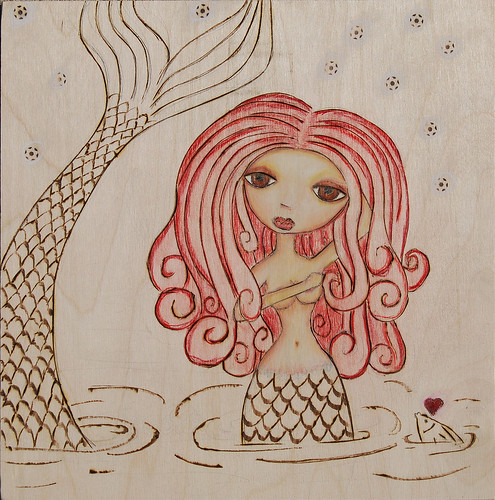
Sketch on wood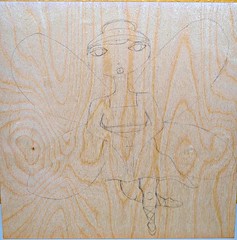
Using Suzi's techniques and a graphite pencil on birch plywood, we learned how to lay out a face, draw eyes & a mouth, and create body gestures. I thought about doing an angel, but she just sort of ended up being more fairie-like.
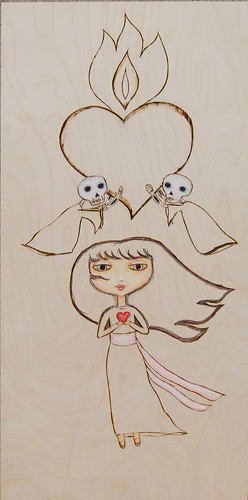
Wood burning!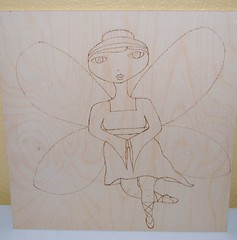
I'd never wood burned before, but found it to be fun. Next time I'll be a little more aggressive - this first attempt is a bit light (I used a fine point tip).
Pencil shading, layer 1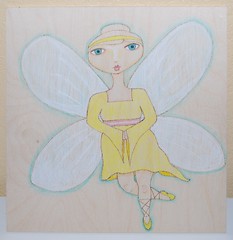
Watercolor and artist pencils and Suzi's techniques.
Background, layer 1; glaze layer 1; pencil shading, layer 2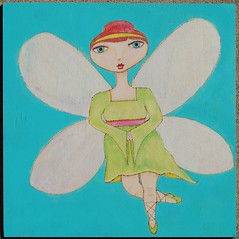
Acrylic paint (background) and glazes over wings, face and dress. More pencils over first layer of paint
Background layer 2, glazing layer 2 and collage layer 1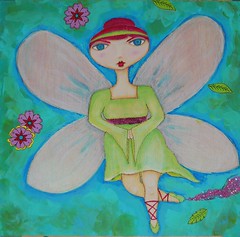
Acrylics (wet on wet for background),
Crafty Chica "Mojito" decorative papers and "Frida's Fuschia" & "Sunset Pink" glitters, acrylic glazes (wet on dry for fairie), pencil shading on wings
More collage, layering, glazing and shading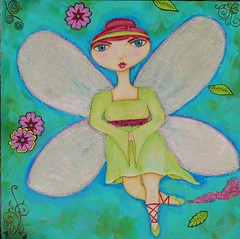
Rub ons, stamps, copic markers (around flowers), Paper Glaze (over glitter), additional shading on face and eyes & highlight in eyes & lips. Oh, and cheesecloth for the wings!
Wing details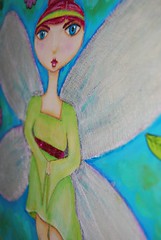
The cheesecloth is something I came up with myself, so I would be happy to share
this technique:
- I painted inside the wing margins with light gel medium and carefully placed a single layer of cheesecloth over the top.
- I folded the fabric in toward the middle a little, then used a tongue depressor to gently scrape off the excess medium.
- AFTER the gel medium dried (30 min), I used the hotknife attachment on my woodburner to cut away the excess cheesecloth.
- I brought out the texture with a black watercolor pencil, then glazed over the wings with Golden Artist Liquid "Interference Red (fine)" mixed with glazing medium.
Ooooh! Magic morphing-art slideshow! 
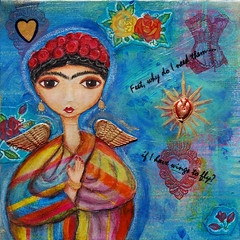
She's almost finished. The flowers and leaves need to be brought "down" a little with some matte glaze, I want to do some stenciling and stamping over the top, and the dress hasn't "spoken" to me just yet. It needs something, I am just waiting to discover what that is!







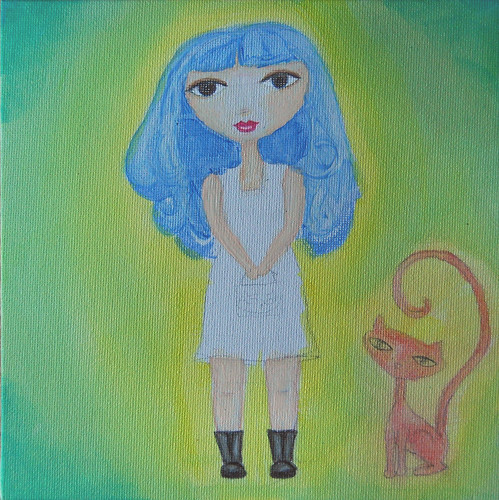
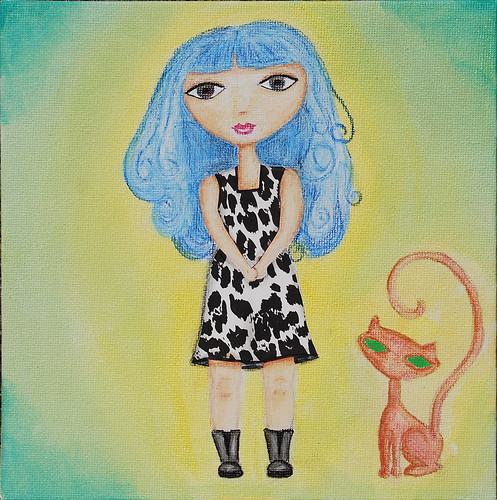
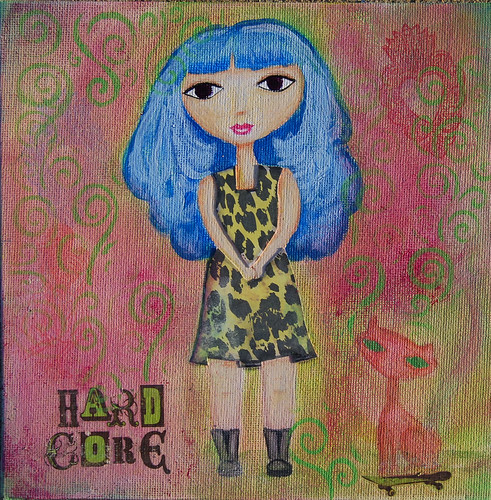
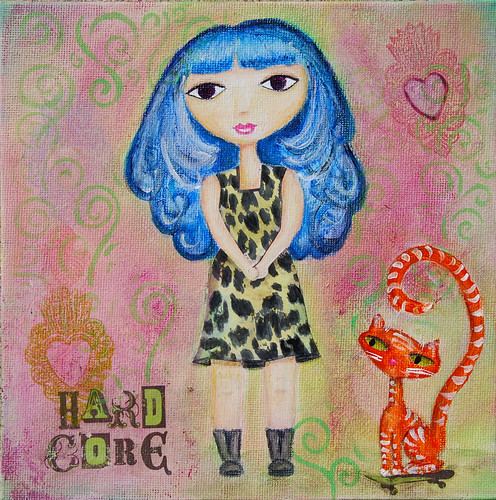



 Just add a
  Have fun my little
