Sunday, June 28, 2009

Alice in Wonkaland - 2009

During our travels, Ron and I stopped by the Spooky Lane Manse to visit with Traci (arteest & curator extrordinaire) and got a chance to preview the art submitted thus far for the Alice in Wonkaland show opening July 2nd (reception on July 18). Boy, is it going to be one unbelievable show:

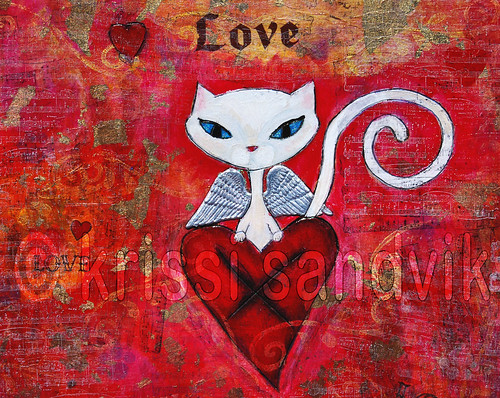
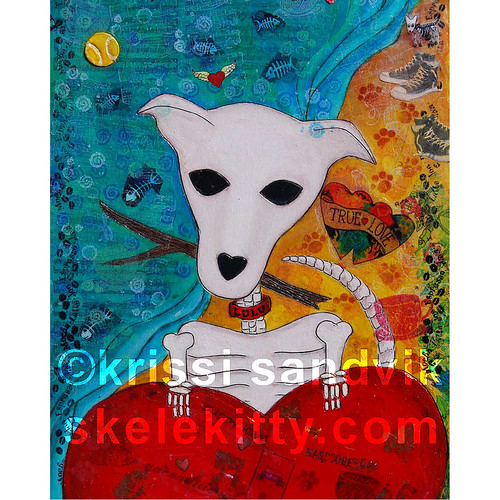
An art show inspired by Alice in Wonderland and Charlie and the Chocolate Factory, featuring the artistic talents of Randy Lane, Von Munster, Traci "Spooky" Lane, Nicolas Caesar, Temple Terkildsen, Cinder, Gus Fink, The Creep, MaS Design, Frankie Babylon, Airn LeBus, Norma Soluet, Tamara Wade, Krissi Sandvik (that would be me), Frankie Teardrop, Bax Turbine, Just Sam, Lupe Posada and many, many more talented artists.

Oh, and, appropriately, there will be CANDY GALORE (free, of course).

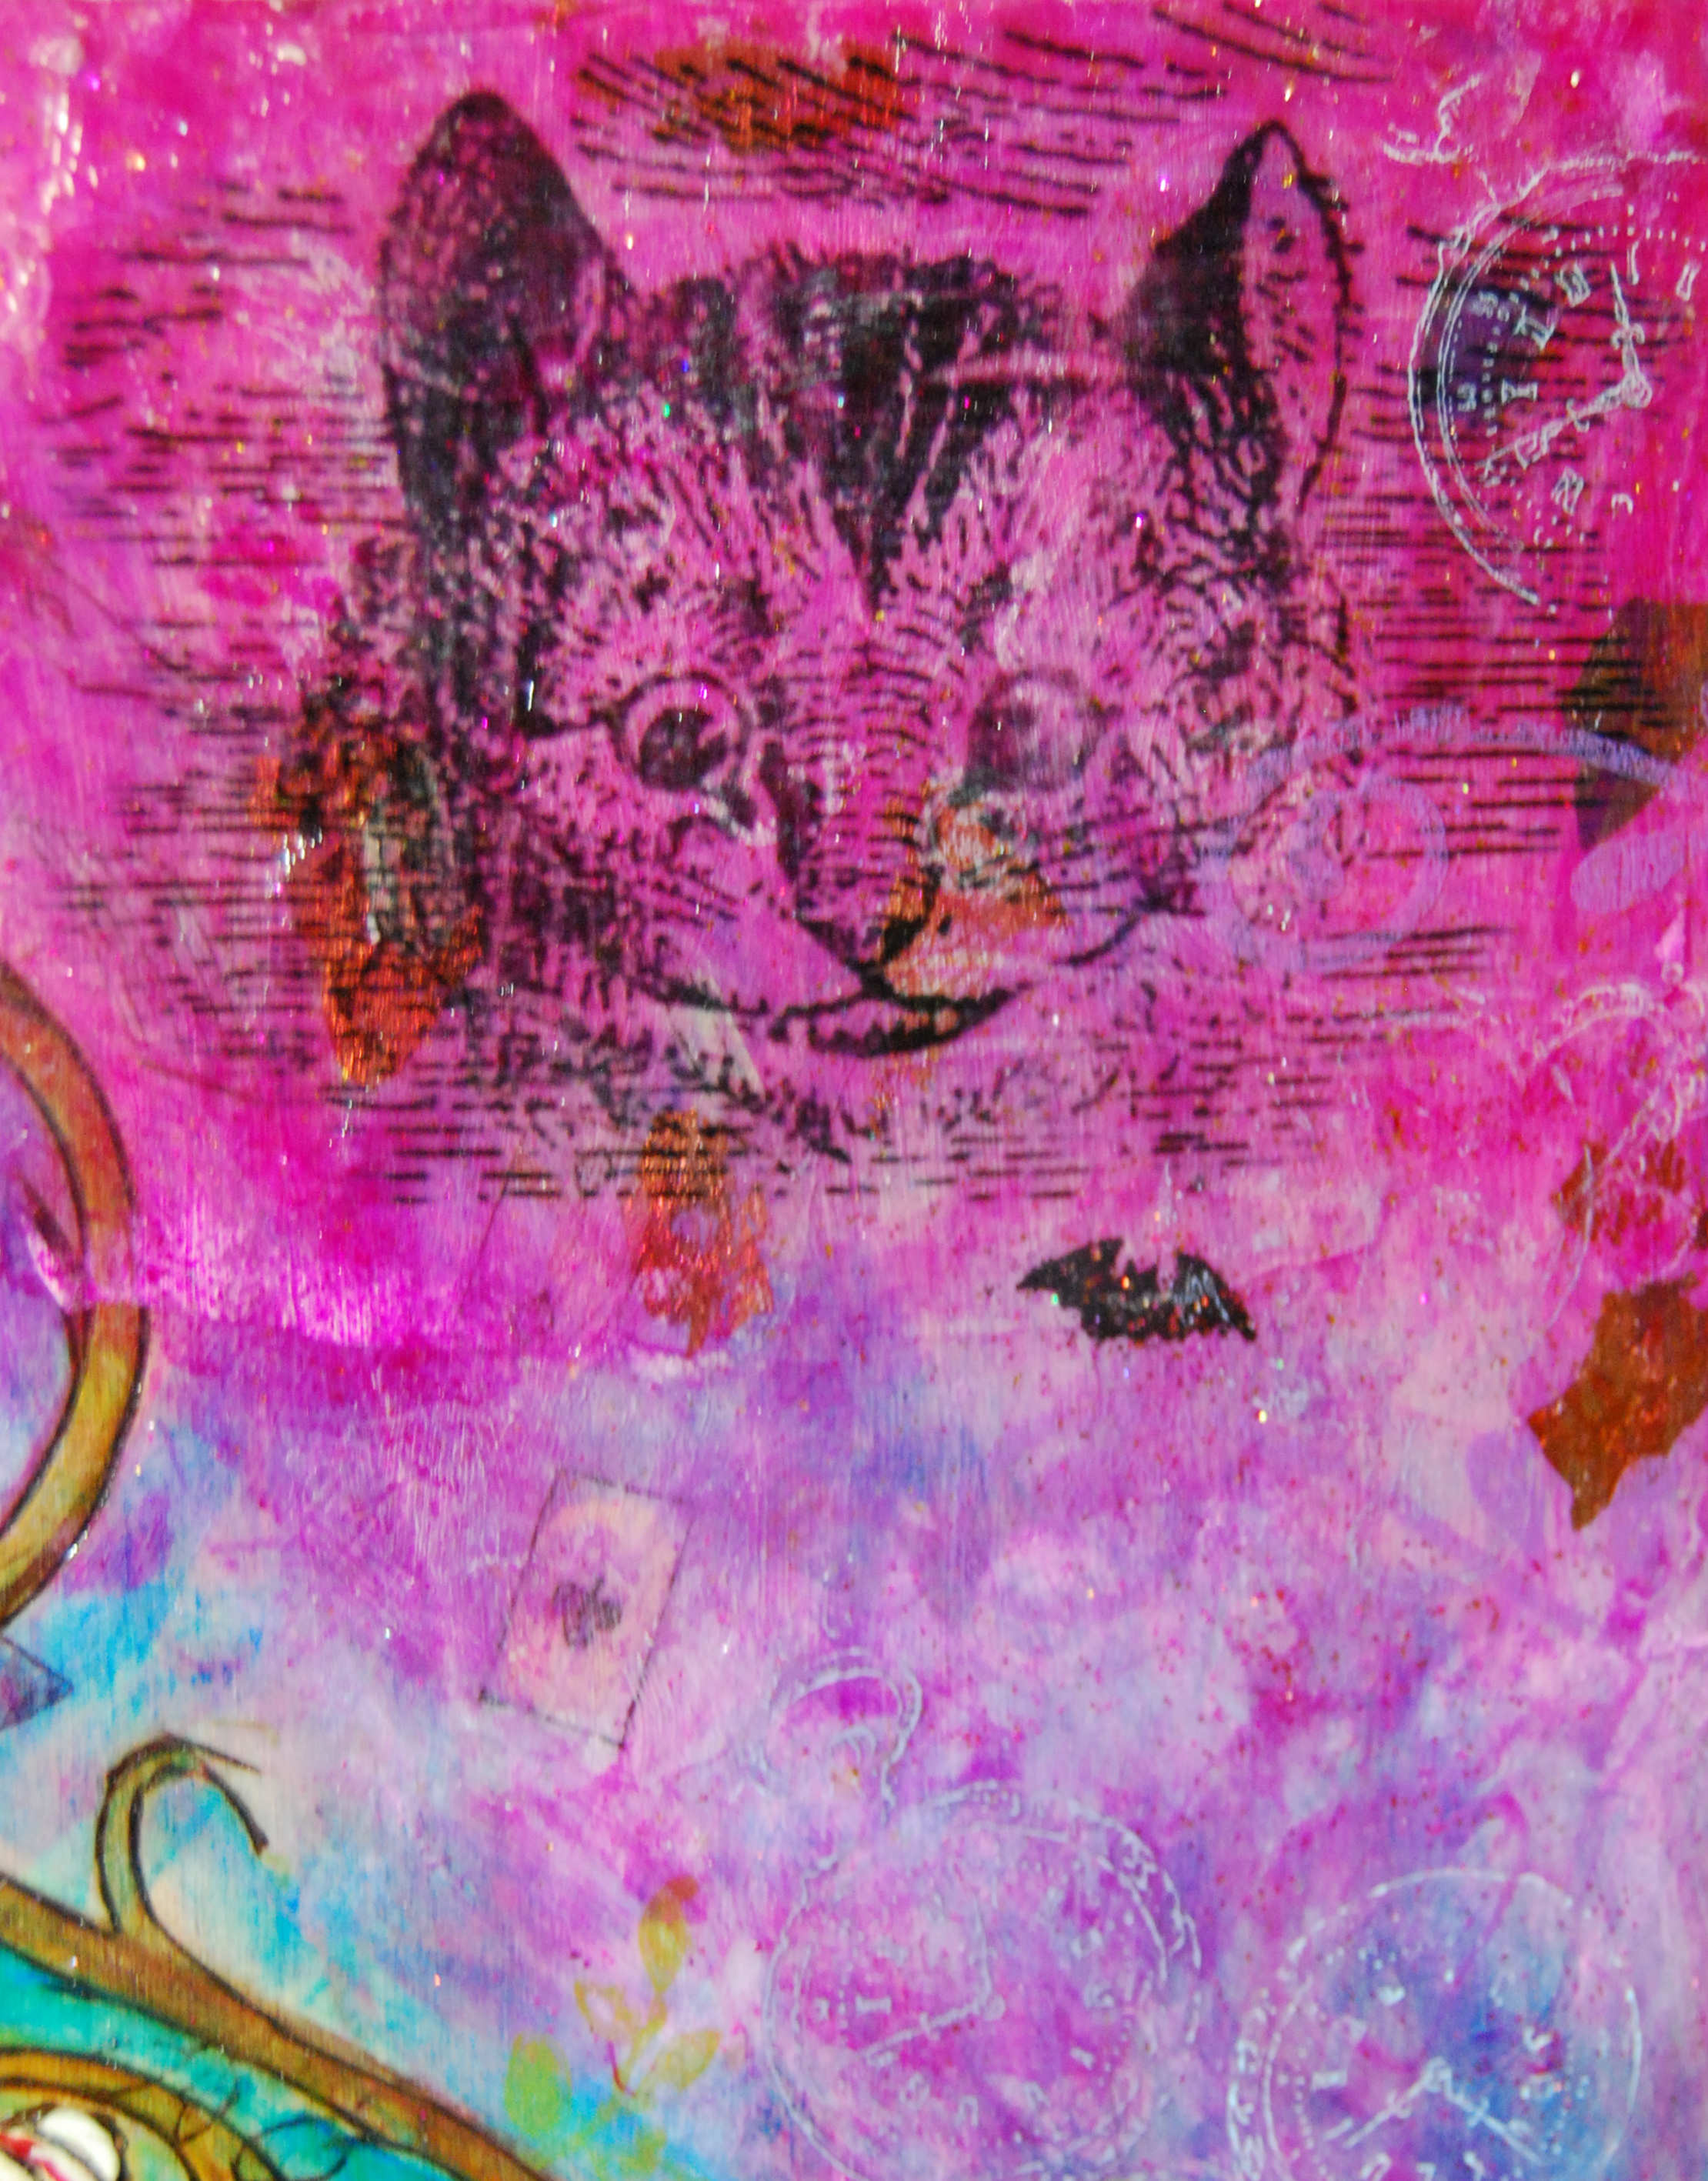
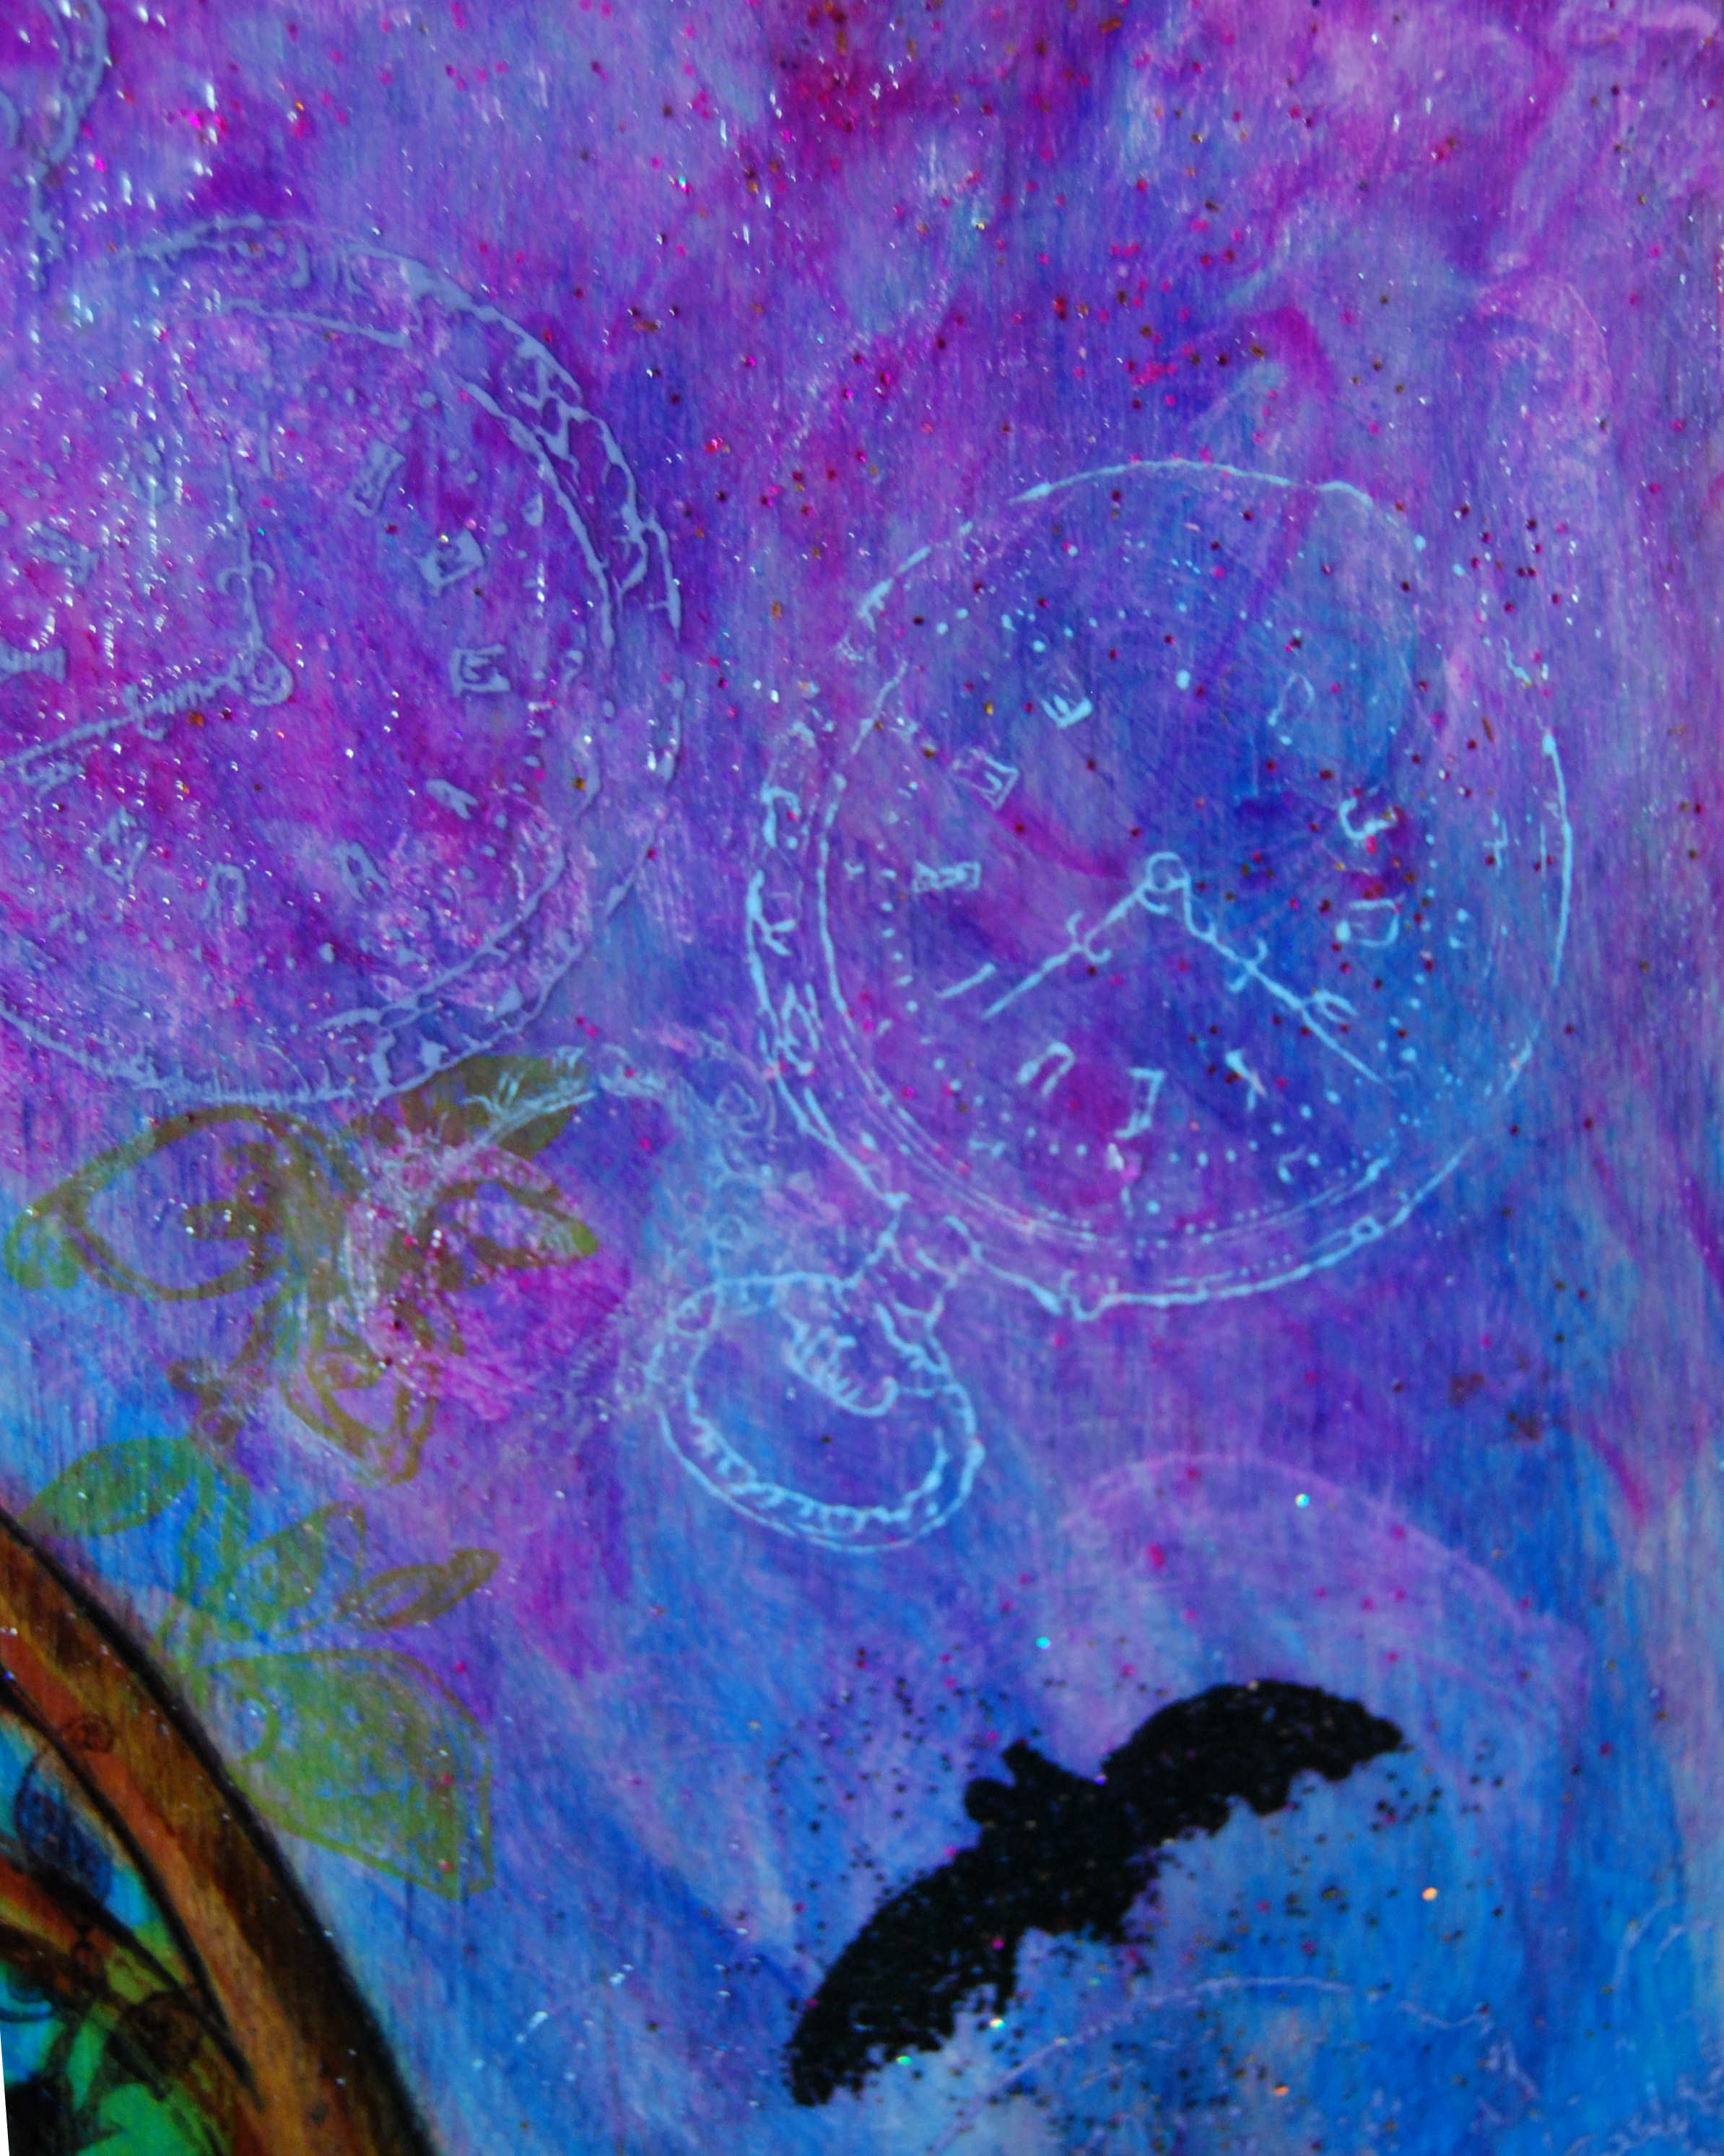
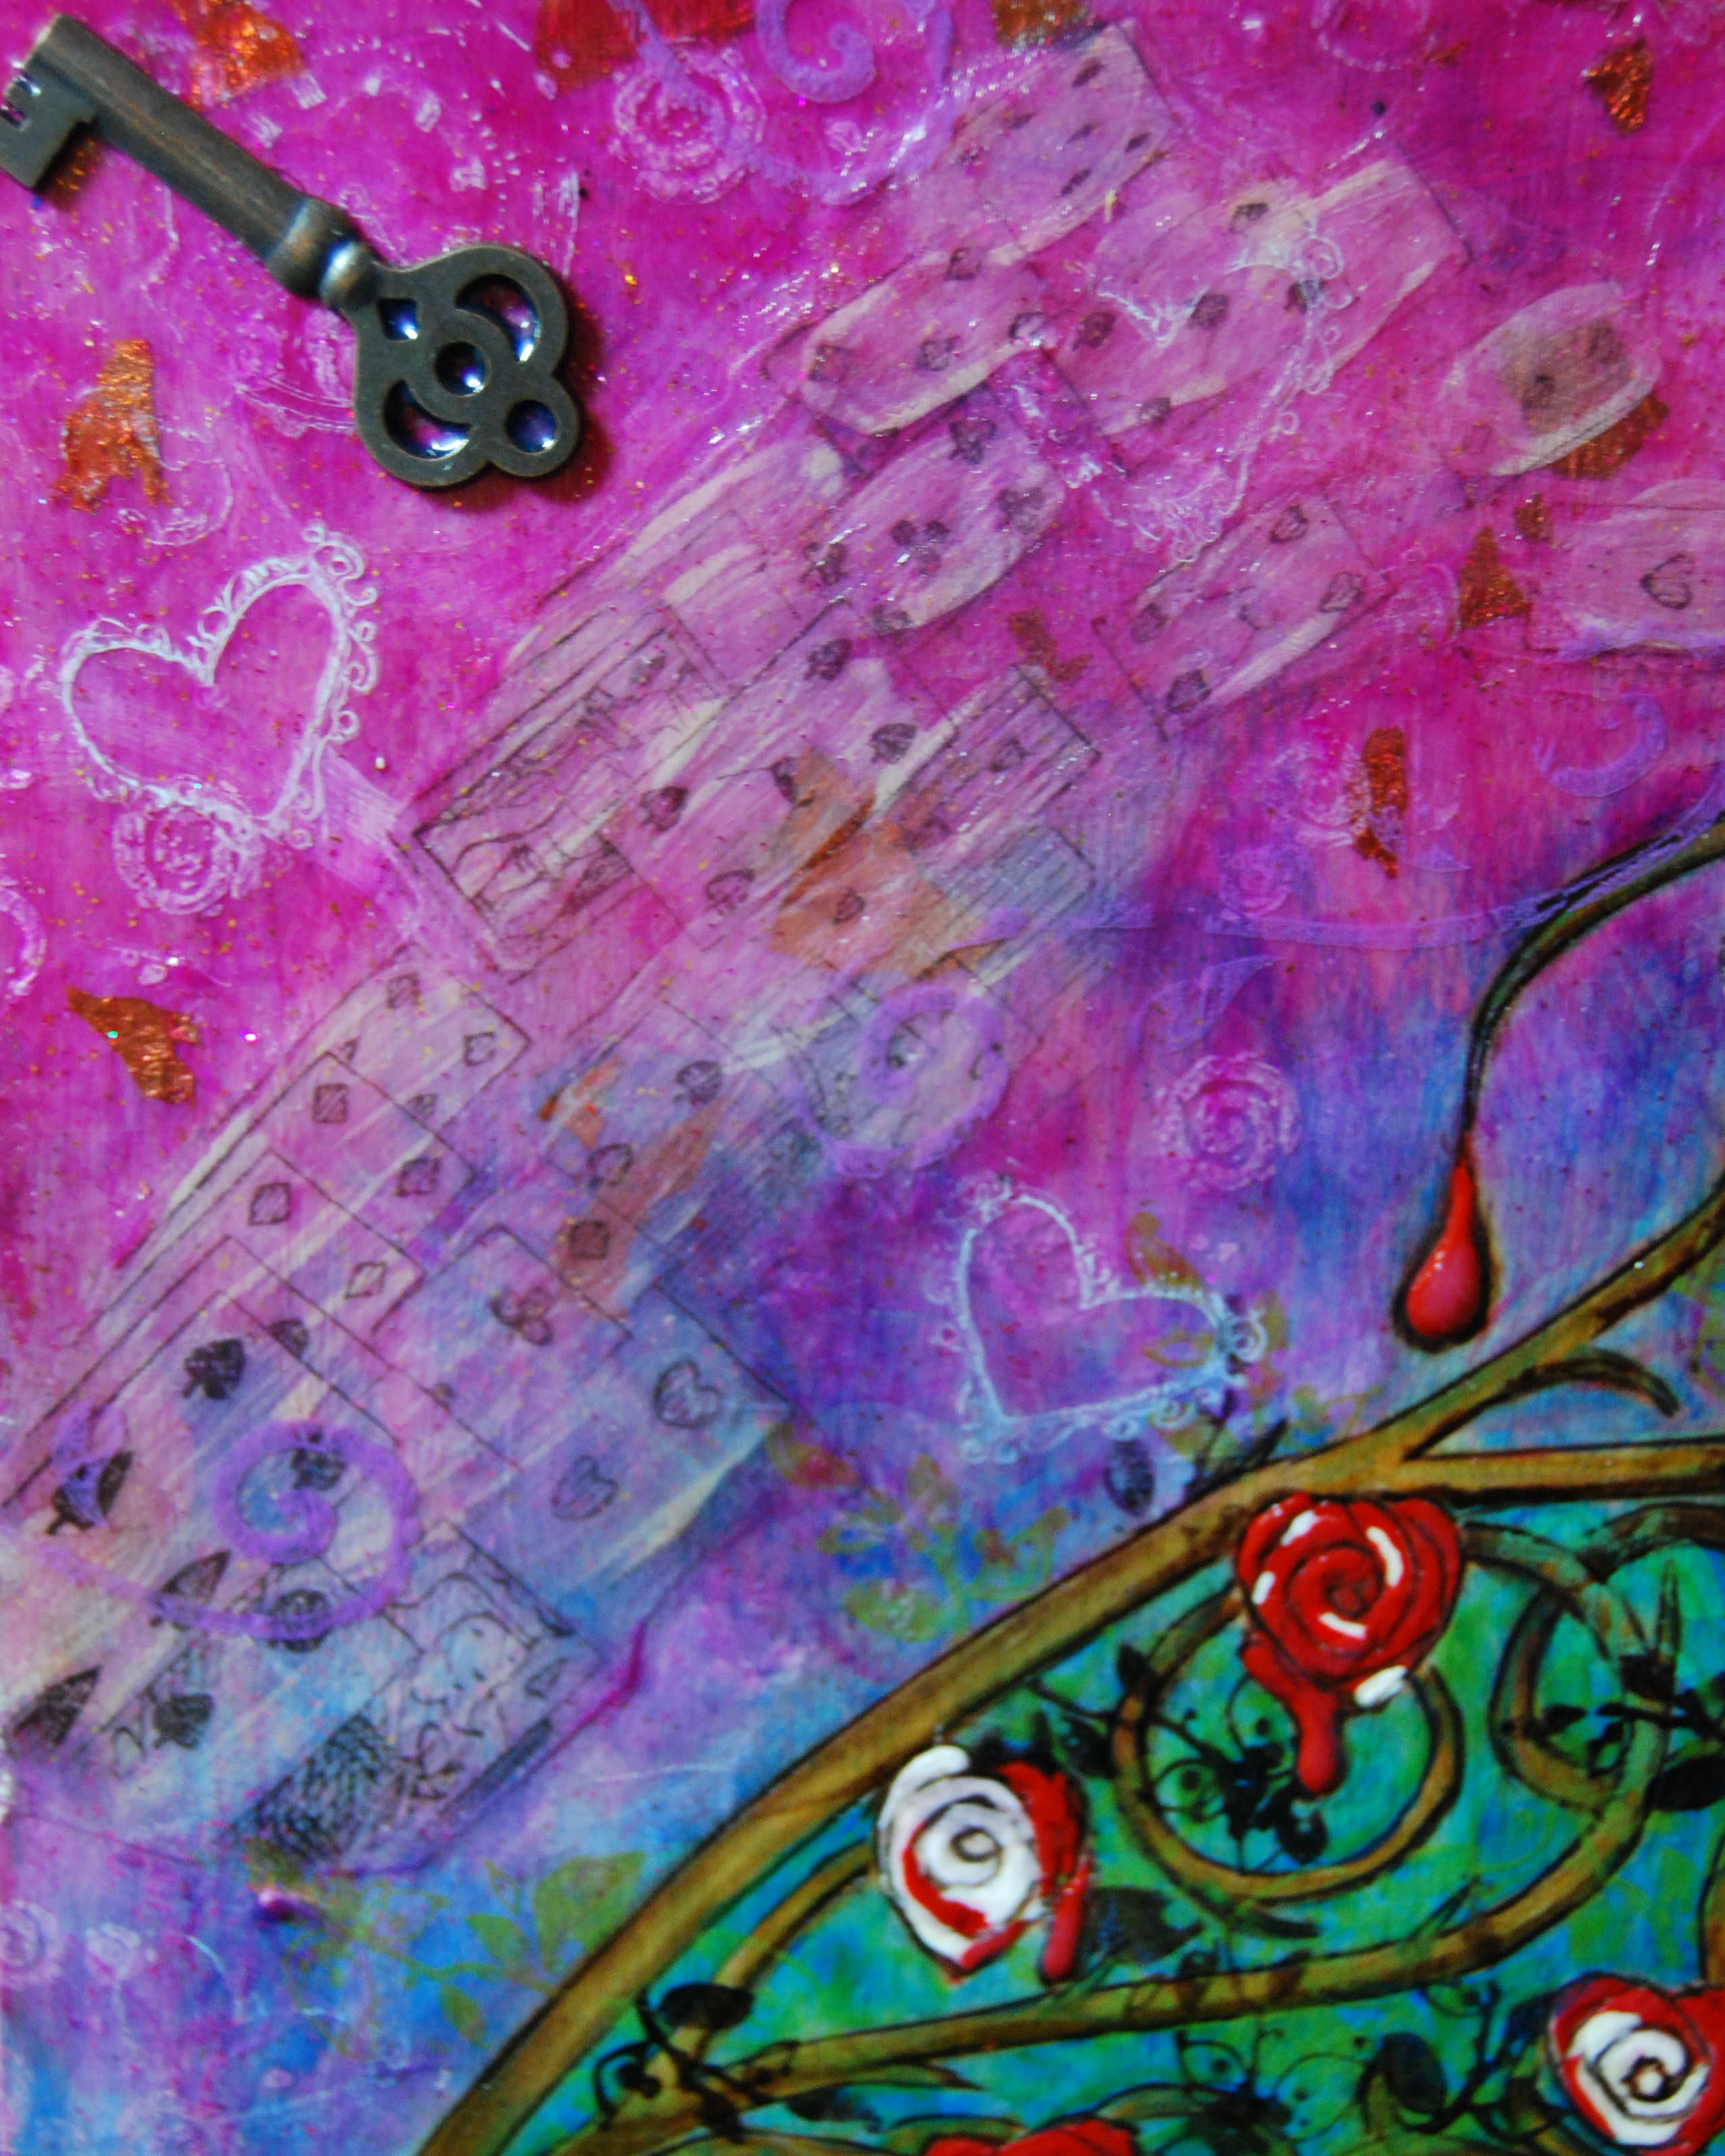
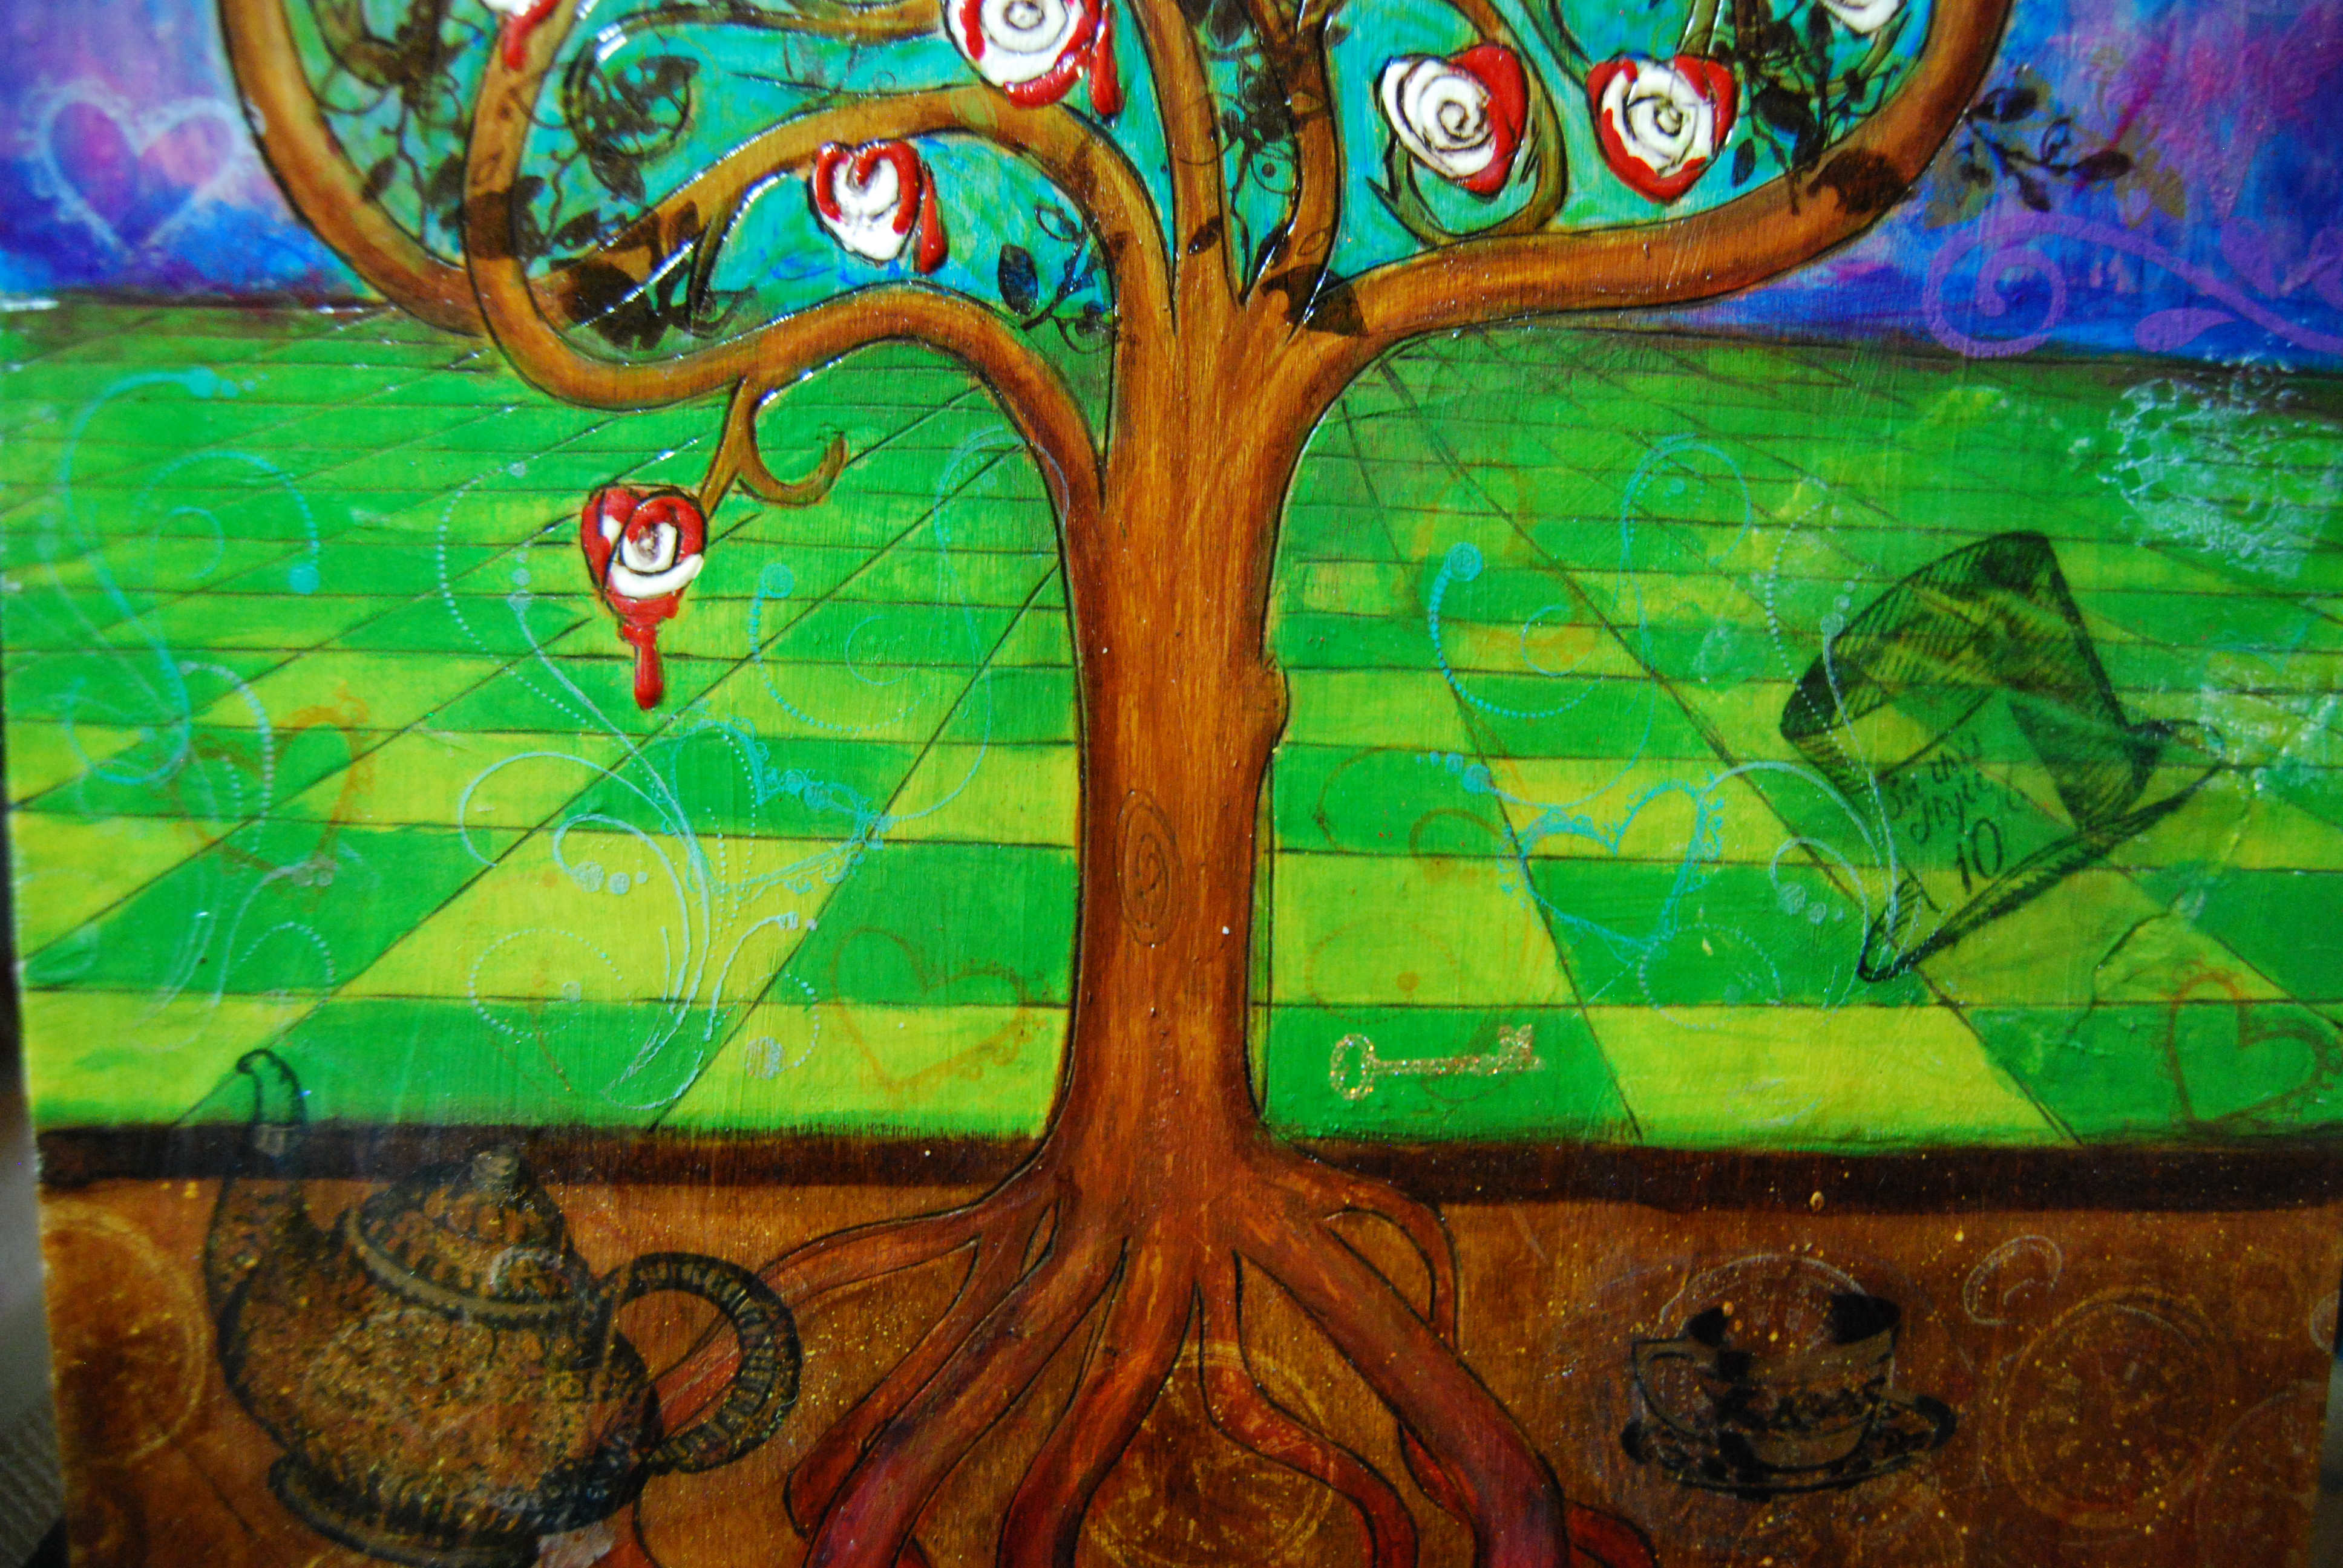
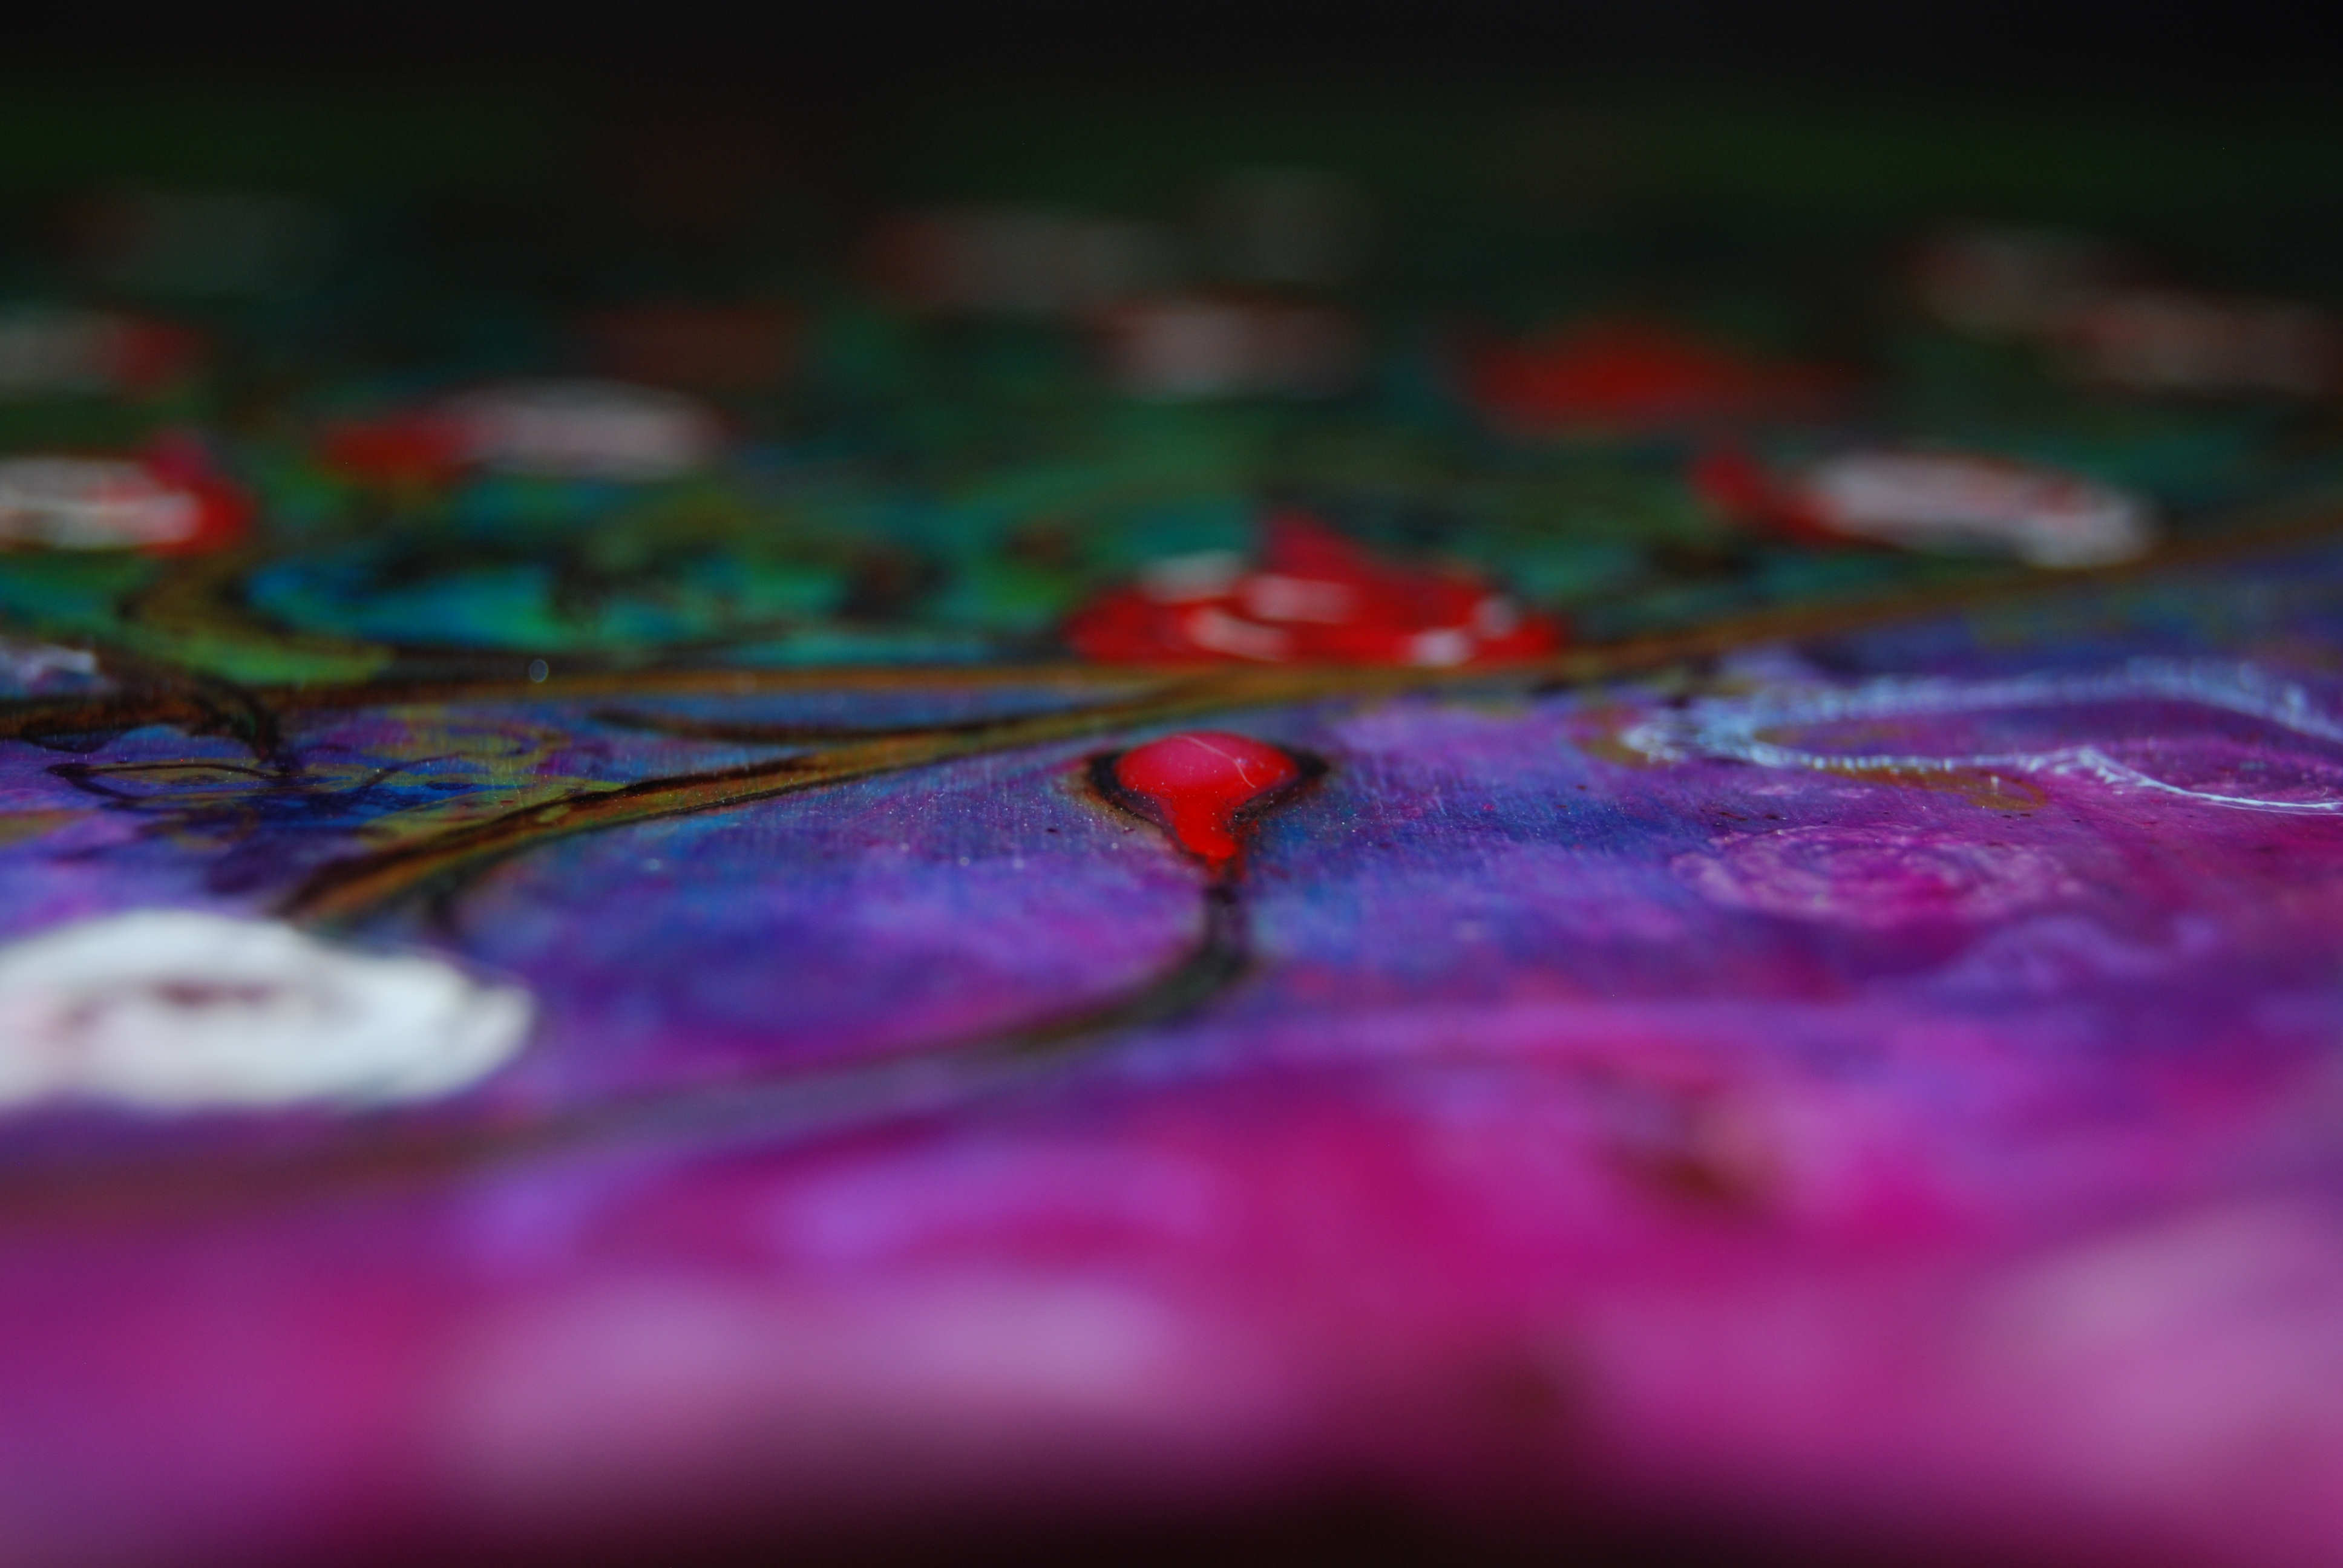
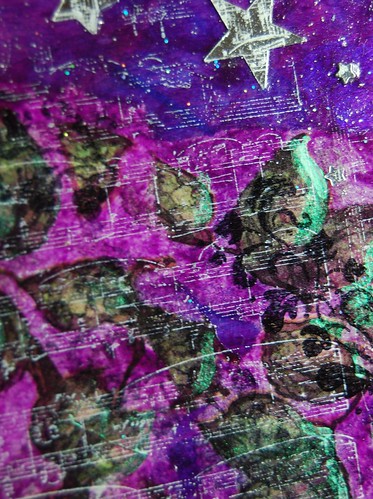
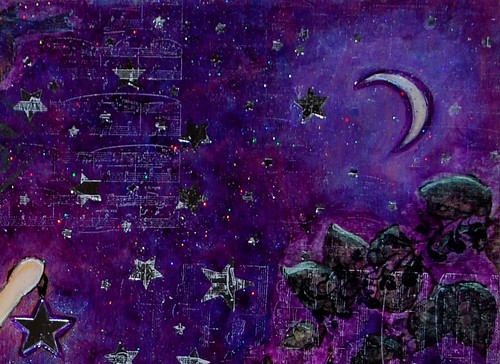
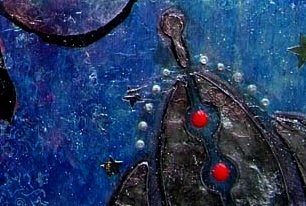
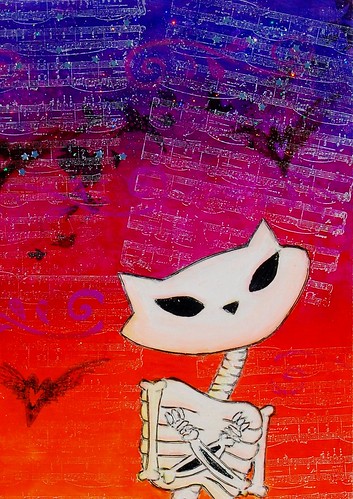
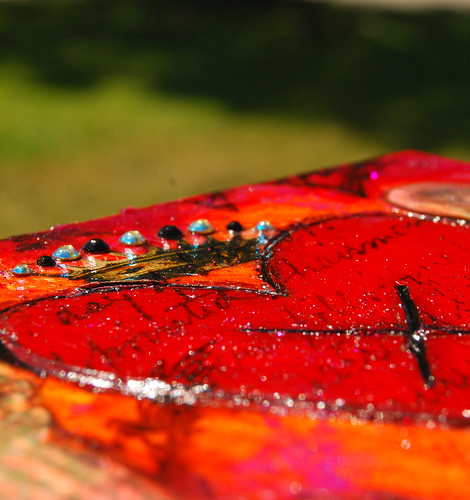
I have two pieces in this show: Painting The Roses Red ($140) and White Rabbit ($65). PSSST! Because I love you, I'll let you in on a little secret: if I have to ship them home after this show, the prices will be going up at least 50% - if you NEED a piece but can't make it to the show, contact Traci directly at spookylane1313@yahoo.com.

However, if you ARE on or near California's lovely central coast, please check out the show and the cafe (and get some free candy)
at
MUDDY WATERS CAFE
508 E Haley St.
SANTA BARBARA, CA
Reception: Saturday, July 18 @7pm
art on exhibit through the month of July
Read more ...

Tuesday, June 16, 2009

My First Mixed-Media Class is This FRIDAY

That's right hep cats and kittens!  I'm heading southward to teach "Hearts of Fire," a class detailing two of my favorite mixed-media techniques - color layering and using image transfers - at the Santa Clarita Craft Lab this Friday night, June 19th from 7pm to 10pm.

"Hearts of Fire - Mixed Media Imagery" Class

All supplies are included in the totally affordable $40 class fee, which means you get to use my own personal (i.e., well loved) stash of paints, pencils, mediums and images.  Of course, all students are encouraged to bring their favorite inkjet/photocopied images, rubber stamps and ephemera.

Two more spots were opened up this week since it was such a popular class!  There are currently three seats available, and I have NO idea when I'll be able to travel down to offer this again. Oh, and did I mention that I'm "raffling off" a tote-bag-o-crafting-goodness?  IT'S TRUE!  I've been collecting all kinds of goodies on my travels and I decided that it's time to spread the craft wealth.
bag-o-crafting-goodness
Just check out all these fun things I've been hoarding!  Now they can be yours (IF you're in the class, that is)!

So if you want to hang out with the cool kids for an evening (no, I don't mean me - in addition to the super creative Santa Clarita Craft Lab staff, we have Cesco and Annette Armas joining us!), maybe win some craft supplies, and definitely learn some great art techniques in the process, give Cyndi at Santa Clarita Craft Lab a call at 661-255-7526 and sign up before we fill up!

I'll see you all next week with lots of photos and an update after my whirlwind tour of Southern CA and a day or two in the lovely seaside town of Cambria to celebrate my impending birthday.

Happy creating!
Read more ...

Tuesday, June 9, 2009

Givin' It Away (Again)

There is a local and very worthy cause to which Skelekitty and I like to donate each year called "Painting For Paws," which benefits Happy Tails Pet Sanctuary here in Sacramento.

Painting For Paws 2009 Flyer
(clicky click to embiggen the poster)

Did you know that Skelekitty's very first appearance in this world was at the Painting For Paws event in 2007? It's true - I thought it would be fun to create a feisty Dia de los Muertos kitty with a sense of humor for this event, and since that fateful night, she has taken over my life!
Skelekitty & Skelemouse (SK's debut!)
"Skelekitty & Skelemouse" (SK's debut in 2007!)


This year, the Happy Tails cats and dogs are once again busy with their creative endeavors, painting one-of-a-kind pieces of original artwork for event (accompanied by a photo and bio of the furry artist). In addition, there will be complimentary food & wine, a silent auction, a prize drawing and animal-themed jewelry for sale. No admission fee!,

I am donating three hand-embellished prints of various kitties for the silent art auction:
A pair of my newest Skelekitty prints, Angel / Devil, will be auctioned off together as a set.
Painting For Paws '09 donation

This one isn't Skelekitty, strictly speaking, but she's the cutest little angel kitten!
8x10 print: Lovecats (angelcat detail)


And one doggy:
Skelepup detail from "Wanna Go To The River?"
donation to Painting For Paws 2009
Each of my 8x10" prints is hand-embellished with art glitter (& perhaps some other goodies) and enclosed in an an acid-free clear bag with sturdy backing and information such as the title, artist, Painting for Paws fundraiser, etc.

I hope you'll all mark your calendars and come out for this wonderful event (and who knows, you may go home with a hand-embellished skele-print at a real bargain!)
Read more ...

Friday, June 5, 2009

Revisiting My Favorite Tutorial

Over a year ago, back in the days when I had about seven or eight readers (most of them on MySpace), I posted a tutorial for my "Funkified Tea Tin." It was your basic upcycling tutorial with a lotería theme, and it still gets some hits from folks searching the interwebs for just such a project.

The actual piece I made is STILL in use (by me) and smells sweetly of whatever wonderful black tea from Hina's I'm drinking on any given week.
Mexified Tea Tins

So I invite those of you who haven't seen this tutorial yet to hop on over and learn to upcycle and funkify your own tins or, just 'cause I love you all so much, I'm going to repost everything below.

NOTE: As always, you can easily find any and of my tutorials by clicking on the "tutorial" tag over on the left column on my blog. You can also quickly find tutorials by others to which I've linked by clicking on the tag called, you guessed it, "tutorials by others."
vibrantscissorsband

A great way to keep your teas fresh and tasty, while showing off your personal taste! Here's what you'll need to get started:
  • tea tin or airtight container
  • appropriate glue for your choice of materials
  • decorative paper
  • varnish of your choice
  • acrylic paint (optional)
  • sandpaper (optional)
  • tea (duh!) or coffee or cocoa or ... you get the drift

The Tins:
tins

Measure the height of the tin from the bottom of the lid. You want to make sure you don't make the tin too "fat" for the lid to fit, after all!

Indicate the lid position using a fine-point permanent marker, unless your tin has an existing guide (like the Twinings tin).

TIP: I found some great tins on clearance at a local craft store (50 cents each!), which is what gave me the idea. You can also re-use tea tins or other airtight canisters.


The Ephemera:
awesome papers

Gather your decorative papers. You can use scrapbooking papers, Loteria tablas (as I did), junk mail, catalogs or just about anything flexible enough to glue to a tin!

Trim your papers to fit within the measurements you took in step 2.


The Glue!
glue options!

Spread glue** evenly over the surface to be covered. DO NOT spread glue over the lid-line. If you are using an industrial glue, you will need to work quickly and in a ventilated space (you twisted little glue-sniffer).

**Choose a glue to match your materials. For metal tins, use an industrial glue like E6000 or Liquid Nails. If you have a foil-lined paper canister (like a cocoa container), you can use a tacky white glue or my new personal fave, YES! paste.

DO IT ALREADY!
tin tin

Apply your pretty papers and let your glue dry.


completed tin top

Repeat process with your lid.

completed tins

TIP: I chose to sand off the existing finish and paint the sides of my lid in a color that I matched to one of my papers. You could also use spray paint, tiny scraps of paper or a thin paper that would easily wrap from the top to the sides.

The Finishing Touch:
varnish options


VARNISH it baby! You want to protect your work, don't ya?

There are a plethora of varnishes from which to choose, so pick your favorite whether it be gloss, satin or matte.

Wipe off any varnish that creeps up over the lid-line of the tin or under the lid. Ensure that the varnish is not just dry, but allow plenty of time for it to cure before you handle - some varnishes take DAYS to cure in cool or humid weather.

Use:
Start rockin' your Earl Grey or English Breakfast with your awesomely cool tin!

completed project
Read more ...

Thursday, June 4, 2009

Did I Mention...

that I actually finished "Painting The Roses Red" some time ago?

painting the roses red

This highly detailed mixed-media work will be in the second annual "Alice in Wonkaland" art show at Muddy Waters Cafe in Santa Barbara starting on July 1st (curated by the lovely and talented Miss Traci "Spooky" Lane). It is is 12"wide x 24" high on birch wood and $140 will send this baby home with you for keeps.

Here are some of the details that are difficult to capture in photos (clicky click each pic for a super close-up look):

Cheshire Cat:
Painting The Roses Red - detail

Twinkle Twinkle Little Bat...
Painting The Roses Red - detail

Cards and key:
Painting The Roses Red - detail

Lawn:
Painting The Roses Red - detail

My favorite bit:
Painting The Roses Red - detail

and again (drip...).
Painting The Roses Red - detail

If you are in or near Santa Barbara, I hope you'll drop by this show as it promises to be the host of some pretty darned incredible Alice, Willie and hybrid pieces of art.
Read more ...

Wednesday, June 3, 2009

Stuff (Without Which I Would Surely Perish) #1

Business has been happily busy here at the estudio de Krissi y Skelekitty (although she's wanting top billing these days, the pushy minx). I didn't want you all to think I didn't love you any more, so I'm starting a series of "bloglets" I am calling Stuff (without which I would surely perish). In short, they are Krissi-style mini-reviews of things I love and MUST ALWAYS HAVE. Mostly I'll feature arts & crafts stuff, to be sure, but the occasional non-art product will be featured now and then.

For my first entry, here's a pretty traditional craft supply that I use in almost every mixed-media art piece I create (but if I didn't tell you, you might not even know it was there):


Tulip Fashion Glitter by Duncan in Silver Hologram comes in three sizes - ultra fine, fine and medium - but I have a particular love for the fine.

Until meeting Kathy Murillo on her Crafty Chica art cruise in 2008, I wasn't into loose glitter AT ALL, much to the continued chagrin of my long-suffering pal, Yoli. I still thought of glitter in big dullish, hexagonal chunks that gathered in the bottom of your winter decorations box after having flaked off your ancient Xmas stocking. However, I got one look at the line of glitters Kathy mixed and Duncan produced, with their amazing colors and shiny holographic goodness, and I was HOOKED.
My Crafty Chica glitter collection!

I use all of the Crafty Chica glitters in my artwork (most notably Goddess Gold, Frida's Fuschia and Bollywood Blue), but the most popular glitter is the holographic silver - it makes ABSOLUTELY PERFECT STARRY SKIES! Can you see it in the sky of "A Brand New Sky To Hang The Stars Upon...?"

A fave craft product...

A fave art/craft supply...


What about here in one of my (many) Venture Bros. fan art pieces, "The Grand Galactic Inquisitor?"

A favorite supply

Can't leave my favorite supply off of a new Skelekitty painting:
A favorite supply


I even used a bit in my most recent piece:
A favorite supply

And since I'm teaching a class of my favorite techniques this month, it showed up in one of the class samples, too.
"Hearts of Fire - Mixed Media Imagery" Class

I wish you could see just how fabulous this glitter looks under and between the layers of gel medium - the photos truly cannot do it justice.

If there's a takeaway point from this first SWWIWSP "bloglet," it is to look at ALL of your supplies when creating, and don't fear mixing your "craft" supplies in with your "art" supplies!
Read more ...