
Update for yesterday (4/17 - day 3): I planned a garage sale with my hubby! Woo hoo! Today (day 4), I am creating a tutorial for you wonderful folks.
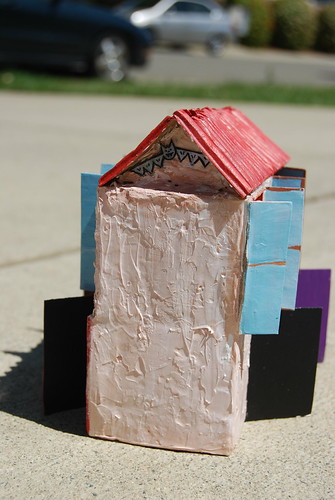
Many moons ago (just over a year, I think), the mixed-media group to which I belong posed a challenge for us to create our fantasy "neighborhood." While a lot of the other artists added things like bakeries and bookstores (good stuff, to be sure), I decided I'd create a single building containing "artists' lofts" so I could live near all of my creative friends!
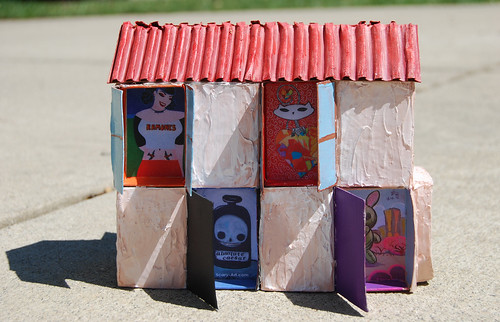
L to R/top to bottom: art by Sam Marie Grove, Krissi Sandvik (Skelekitty), Nicolas Caesar and Christian Cinder
Tools and Materials:
- "YES" paste or bookbinding glue*
- 32 count matchboxes (21) - I get mine at the Dollar Store/Dollar Tree, etc.
- corrugated cardboard scrap
- paints
- Golden Acrylic Medium: Molding Paste (either regular or hard is fine)
- artist spatula
- photos/ephemera** for inside "windows and doors"
- varnish or glaze - like Crafty Chica Glossy Gloss varnish
- With 9 of the matchboxes, separate the drawers from covers, and determine the interior dimensions.
- Using your computer, if necessary, resize, print out and trim to size 8 scenes for the interior of each room.
**IMPORTANT NOTE ON COPYRIGHTS: Be certain that any images you use are copyright free or that you have permission from the artist(s) to use them. Just because you paid for an image, it does not mean you have the right to legally use it! Most craft supplies are OK, but some, like rubber stamps and printed images may still be covered by copyright protection (i.e., you may not have the legal right to sell work containing those images - my Skelekitty stamps are an example of such images). It would also be copyright infringement to create a print for personal use of someone else's work. It is your responsibility to determine if the images you use are under copyright protection. and most artists are willing to license their work, or will work with you to allow certain uses, so be sure to ask before you use them!
The piece I have here was created for my own amusement and I informed each of the artists what I was making and that it would not be for sale.
- Glue* 8 images into matchbox drawers. Embellish now (or later is OK too!). *you can use white craft glue or glue stick if you don't have YES Paste, etc. Paste and bookbinding glue wrinkle your paper less, so they're a great investment!
Glue an image of a door or paint one inside the 9th matchbox drawer and let everything dry.
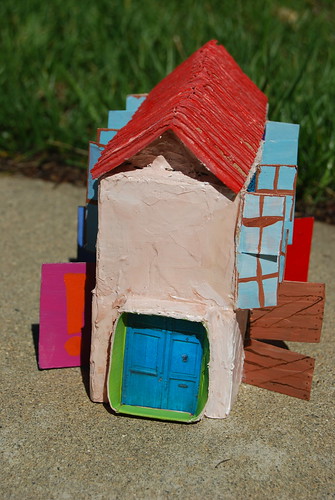
Photo of door by Ann Pohlers.
- Cut open 8 of the matchbox covers' (along one of the folds) as shown here and paint doors and/or windows on the flap (I did mine to match up with the personalities of the artists "living" inside:
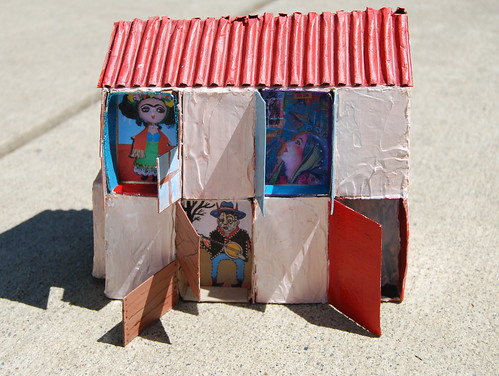
L to R/top to bottom: art by Yoli Manzo, Alisa Abrenica and Mark Fox. That "empty" apartment will have Char Hall's T-Rex living in it soon.
I made my windows "shiny" with several coats of glossy varnish!
- Glue the outside of the 8 matchboxes (doors/windows) to the back /side of the 8 'drawers' (room scenes). Let them dry well! You may wish to use binder clips to hold the sides while these dry.
- Start assembling your building! Here you can use E6000 glue or another hard core craft glue to keep things from falling apart while you build. Here's how I put mine together:
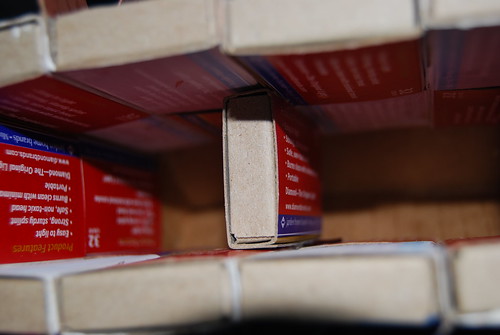
Two matchboxes high, one matchbox wide (front/back) and four matchboxes long (sides) with one stuck in the middle (interior) for structural support.
Add triangles made from scrap cardstock or cardboard for your roof gables (or you can make a flat roof).
Kepi is the bat in my belfry.
LET EVERYTHING DRY WELL!
- Now for the fun! Open up your jar of molding paste and, using your spatula, "plaster" the exterior walls of the building! When I created my set of artists' lofts, I used gel medium (regular), but realized later that molding paste would work WAY better (and you don't necessarily have to paint it!). Another idea for thatched, cracked or textured plaster looks: use Golden Fiber Paste, Crackle Paste or Course Molding Paste! Let your acrylic "plaster" dry well - usually overnight or more is best, depending on temp/humidity.
- Paint exterior of your building, if desired.
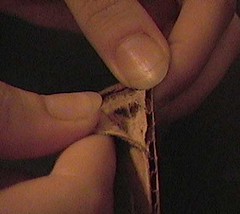
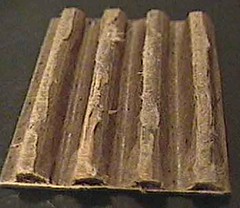
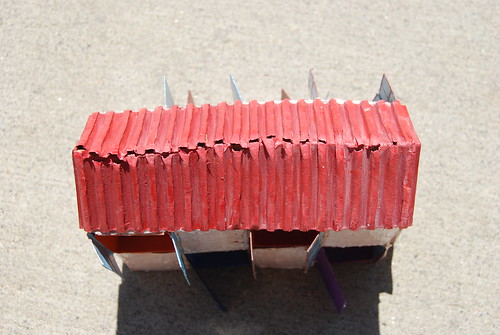
- Make your roof - I made a 'Spanish tiled' roof by peeling off one of the paper layers from a piece of corrugated cardboard and painting it brick red.
Seriously. That's all. Fold your "roof" down the middle and glue onto the top of your "gables."
*
View ALL DaVinci Mode Challenge posts.
*
No comments:
Post a Comment