
I get a lot of hits on this particular photo and receive e-mails every now and then asking how I did it. I figured, it being "Earth Week" and all, this would be a great time to tell everyone (plus, I needed to cover up a used mailer for Rikki's Loteria pendant, so I had one to photograph!).
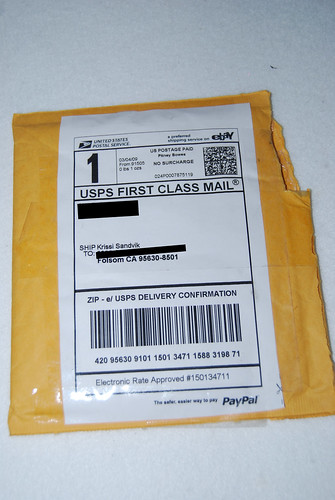
Of course you've saved padded mailers. Well, go find one.
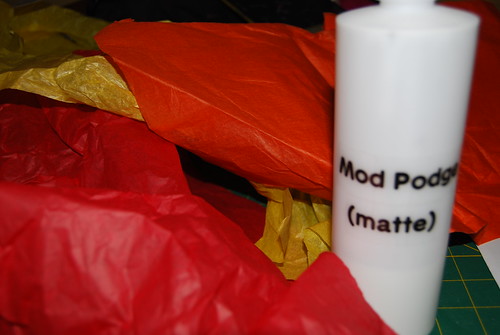
While you're in there, get some white glue or decoupage medium, a brush, your white paint (or gesso) and some pretty tissue papers (you could also use decorative paper scraps).
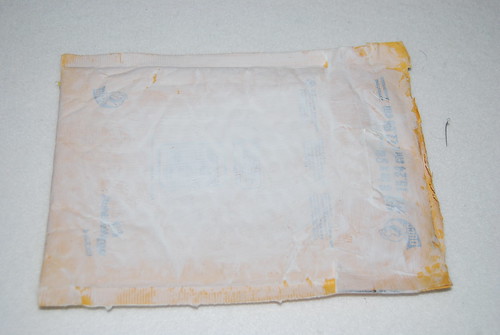
Tear off any glossy tape and labels that are easily removable (you don't really even need to do this, but it helps the decoupage stick). Prime your envelope with white craft paint or gesso (mostly this is just to give an even look to the piece and ensure that old labels are covered).
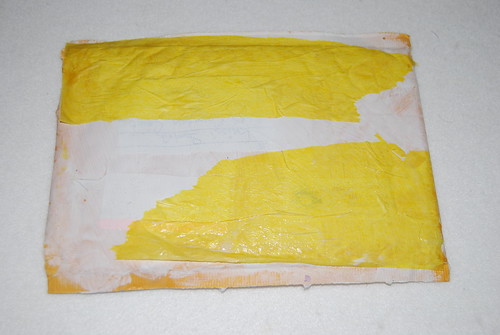
Start with one side of the envelope and coat a small area with decoupage medium. Add pieces of tissue paper and recoat with glue/decoupage medium.
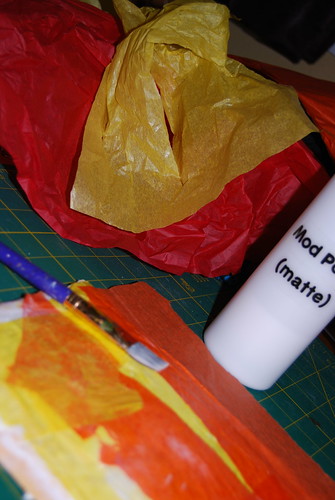
Keep going....
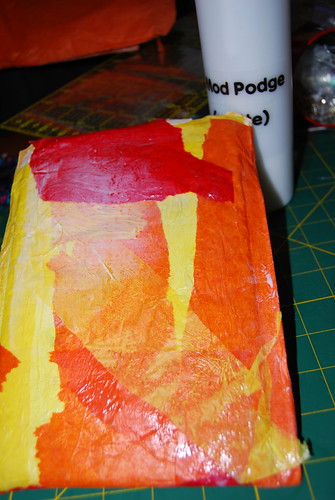
OK... That looks pretty good. Let it dry, then do the back side (optional, but totally cool looking).
You can work on the back while the front is still wet if you have a non-stick craft sheet, but I use the drying time as an excuse to play with my dog.
Once both sides are dry, you can address, fill and send your mailer, but I like to decorate mine even more:
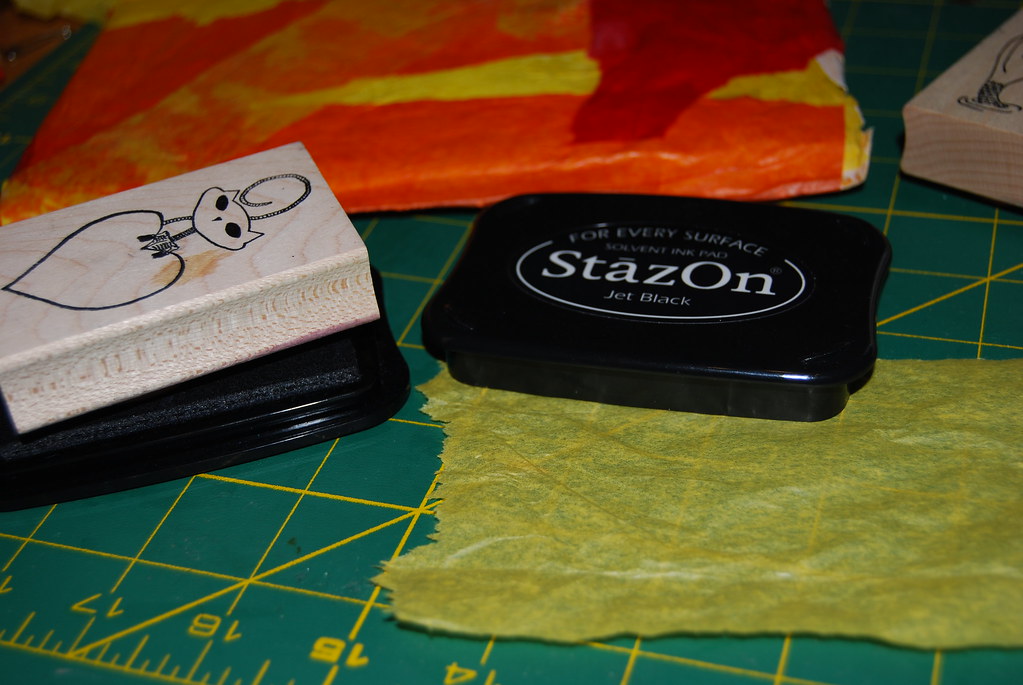
Using your favorite stamps (of course they're your Skelekitty ones!), and some Staz On or other permanent ink, stamp an image onto a piece of tissue paper...
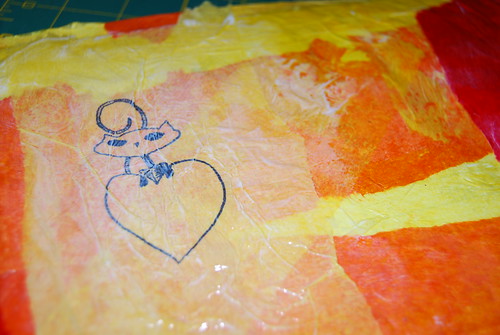
...then affix it to the envelope. This technique will give you a better stamp impression than if you stamp directly onto the lumpy envelope.
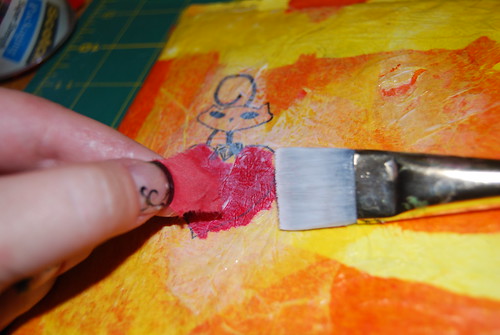
Don't be afraid to get a little silly.
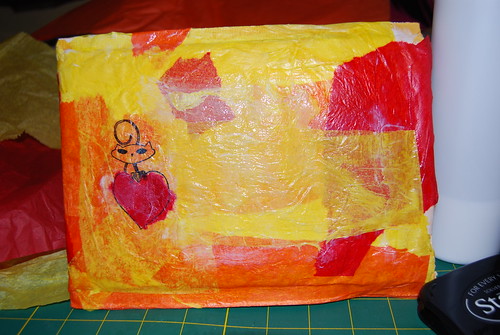
And it's finished! No... wait....
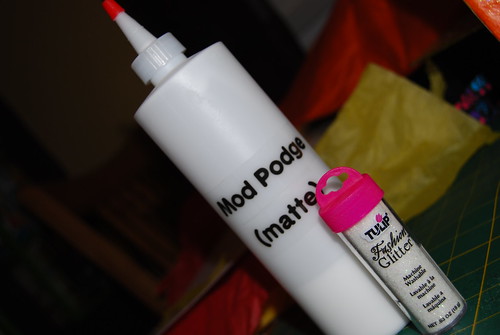
YES! It still needs a little sparkle! (I got the idea of adding iridescent glitter to mod podge from Kathy Murillo, The Crafty Chica!)
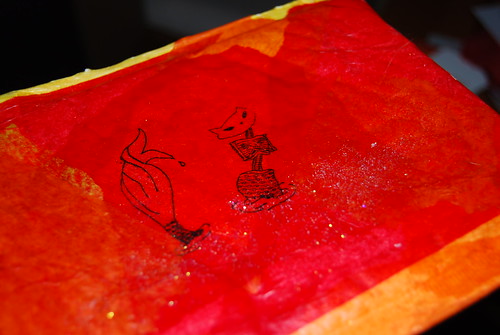
NOW it's finished! (This, obviously, is the back of the envelope - sorry, just not going to give everyone Rikki's address!!!)
If you make one, I'd love to see it, so be sure to post a link here!

No comments:
Post a Comment