
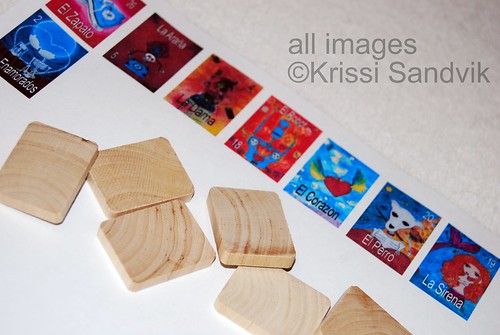
Using 1" x 1¼" wooden craft tiles as a base, I resized my Lotería cards on my computer and printed them out just a teensy bit larger than the tiles (1.3" wide so the entire surface would of the tile would be covered). I have an Epson printer, but you could also use an ink jet or have them copied professionally (on accounta almost all home-office ink jet inks are water-based and bleed). Just to be sure, I used some spray fix to keep my images clear (you could also use a glossy presentation paper or another paper with a coating).
Next, I cut out and glued my images onto the tiles. You could use just about any glue, but I settled on two extremely thin coats of soft gel medium by Golden Acrylics.
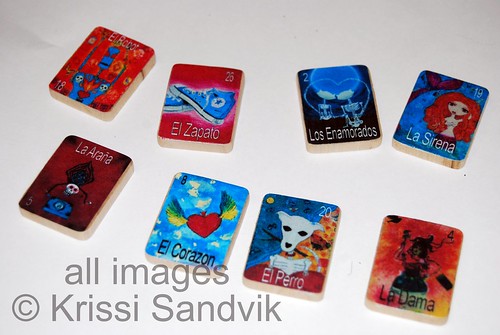
After the tiles were completely dry, about 30 minutes, I sanded the edges of the tiles (an emery board works well!) to remove the overhanging paper and any tiny bit of gel I got onto the edges.

I like to add a thin coat of a gloss varnish now - BEFORE I paint the sides and back. If you varnish it after, you won't be able to wipe any smeared paint off of the surface of the images. As always, I used Crafty Chica Glossy Gloss Varnish - one of my crafting staples.
When your varnish is dry, paint the edges of each piece. When the edges are dry, paint the backs (it's much less messy if you do it in steps).
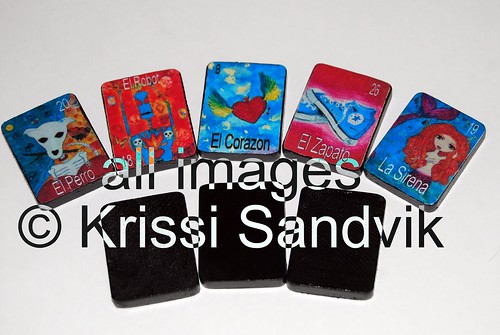
Now these little babies are ready to be added to art, jewelry or whatever project enters my brain for day 6 of the DaVinci Challenge!
View ALL DaVinci Mode Challenge posts.
Awesome!
ReplyDeleteGrassy ass.
ReplyDeleteflippin sweet!
ReplyDeleteJo Anne,
ReplyDeleteBEST. COMMENT. EVER.