
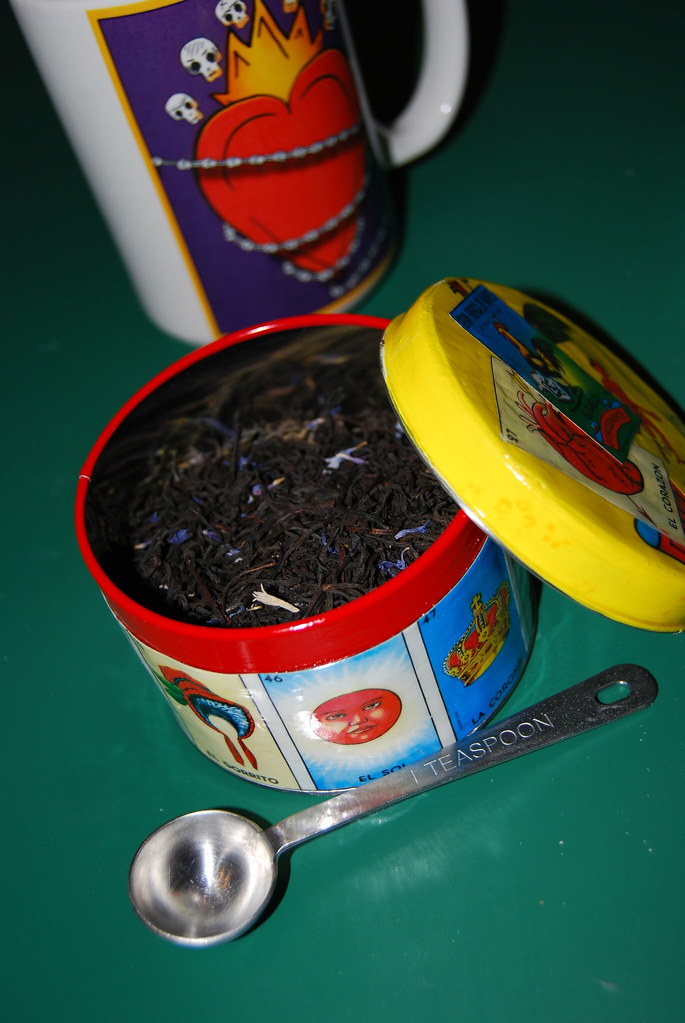
The actual piece I made is STILL in use (by me) and smells sweetly of whatever wonderful black tea from Hina's I'm drinking on any given week.

So I invite those of you who haven't seen this tutorial yet to hop on over and learn to upcycle and funkify your own tins or, just 'cause I love you all so much, I'm going to repost everything below.
NOTE: As always, you can easily find any and of my tutorials by clicking on the "tutorial" tag over on the left column on my blog. You can also quickly find tutorials by others to which I've linked by clicking on the tag called, you guessed it, "tutorials by others."

A great way to keep your teas fresh and tasty, while showing off your personal taste! Here's what you'll need to get started:
- tea tin or airtight container
- appropriate glue for your choice of materials
- decorative paper
- varnish of your choice
- acrylic paint (optional)
- sandpaper (optional)
- tea (duh!) or coffee or cocoa or ... you get the drift
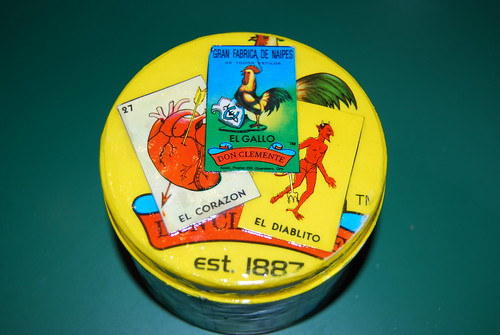
The Tins:
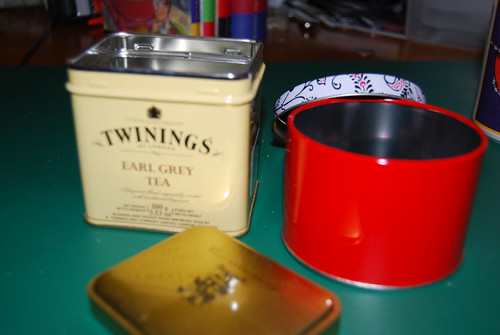
Measure the height of the tin from the bottom of the lid. You want to make sure you don't make the tin too "fat" for the lid to fit, after all!
Indicate the lid position using a fine-point permanent marker, unless your tin has an existing guide (like the Twinings tin).
TIP: I found some great tins on clearance at a local craft store (50 cents each!), which is what gave me the idea. You can also re-use tea tins or other airtight canisters.
The Ephemera:
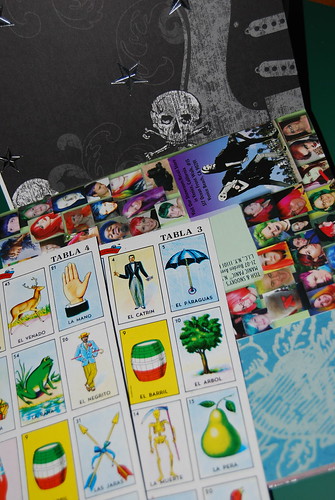
Gather your decorative papers. You can use scrapbooking papers, Loteria tablas (as I did), junk mail, catalogs or just about anything flexible enough to glue to a tin!
Trim your papers to fit within the measurements you took in step 2.
The Glue!
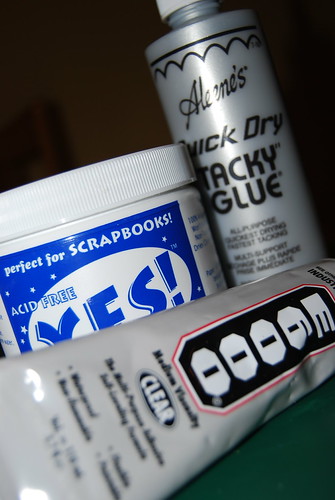
Spread glue** evenly over the surface to be covered. DO NOT spread glue over the lid-line. If you are using an industrial glue, you will need to work quickly and in a ventilated space (you twisted little glue-sniffer).
**Choose a glue to match your materials. For metal tins, use an industrial glue like E6000 or Liquid Nails. If you have a foil-lined paper canister (like a cocoa container), you can use a tacky white glue or my new personal fave, YES! paste.
DO IT ALREADY!
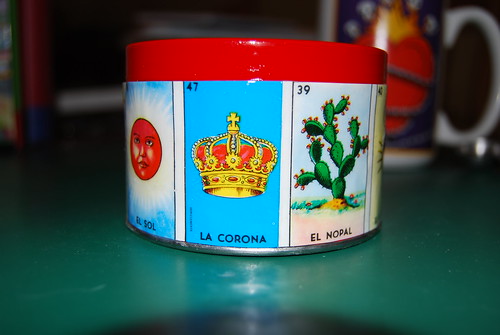

Apply your pretty papers and let your glue dry.
Repeat process with your lid.
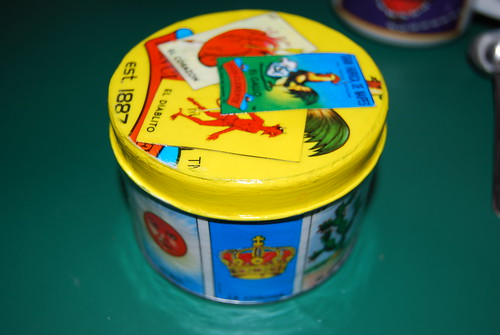
TIP: I chose to sand off the existing finish and paint the sides of my lid in a color that I matched to one of my papers. You could also use spray paint, tiny scraps of paper or a thin paper that would easily wrap from the top to the sides.
The Finishing Touch:

VARNISH it baby! You want to protect your work, don't ya?
There are a plethora of varnishes from which to choose, so pick your favorite whether it be gloss, satin or matte.
Wipe off any varnish that creeps up over the lid-line of the tin or under the lid. Ensure that the varnish is not just dry, but allow plenty of time for it to cure before you handle - some varnishes take DAYS to cure in cool or humid weather.
Use:
Start rockin' your Earl Grey or English Breakfast with your awesomely cool tin!
wow! I'll have to do this. I drink tea alot at work cuz it's always cold.
ReplyDelete~Spine
I can think of a lot of uses for a time like this!!! Thank you for sharing. I am new to your blog and cannot wait to look around!! Smiles
ReplyDeletekrissi. i really like this tutorial. i have so many tins. i love the loteria look, and i sell the images at my store. time to work on a cool project as an example on the many uses of loteria images! thanks woman.
ReplyDeletesee you soon!
cyndi
Thanks Cyndi! Glad I could offer some inspiration for the store.
ReplyDeleteI need to make another with Kathy's Loteria (and maybe even one with my OWN Loteria images).