
I first had to dig (pickax) down an inch or two into Folsom soil (read as "granite, clay and mining tailings that my tortoise can't even burrow into"), lay a bed of sand, tamp it down, level it, then ...
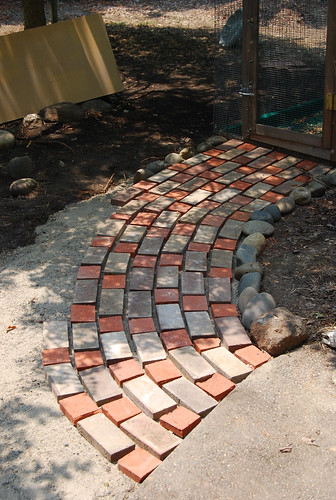
break bricks

lay the bricks
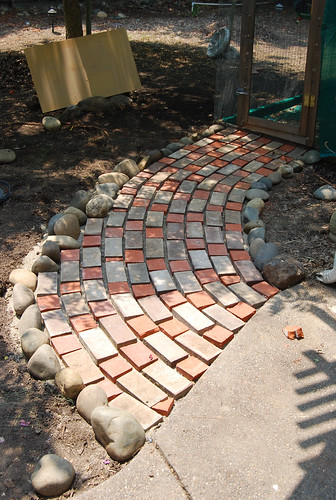
edge with river rocks (swiped from up against the back fence where I couldn't admire them)
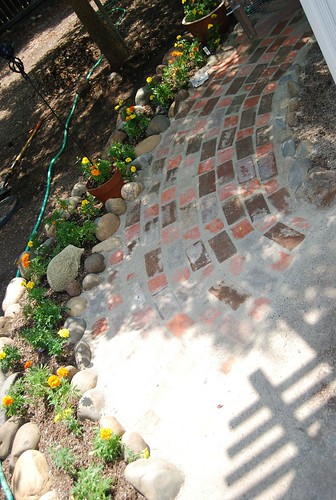
add joiner sand, about 6 cubic yards of soil, another row of rock, two pots, my beloved English clay hedgehog (Spiny Norman) and about 60 marigold plants. All that I had to do after that was sit back with a well deserved lemonade (yeah, it's sugar-free of course).
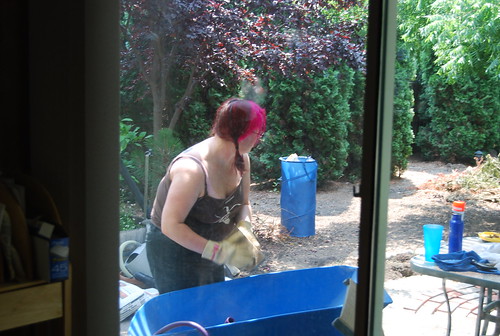
My hubby was good enough to pretty much stay out of my way and make several runs to OSH for sand, soil and flowers. I'm quite proud of this little project, if I do say so myself.
You look adorable! I want to visit and see this new walk way!
ReplyDeleteHi Krissi!!
ReplyDeleteI am so excited to have come across your blog on making your garden pathway. You have done a fabulous job and it is beautiful!!! I was wondering how and what you used to cut your bricks?
I used a hammer and brick chisel. Here's a blog post from someone else on the technique: https://www.grit.com/learning-to-live/how-to-cut-bricks-with-hammer-and-chisel.aspx
ReplyDelete