
I wanted to see what kind of effects I could get with the silver irridescent and red/orange interference paints mixed with acrylic glazing medium. It turned out so-so compared to my hopes, but I did like the way the background shows through, even with umpteen layers of watercolor pencil/pastel shading and silver glaze.
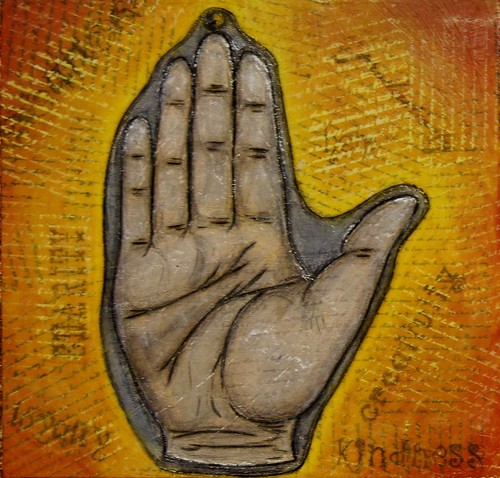
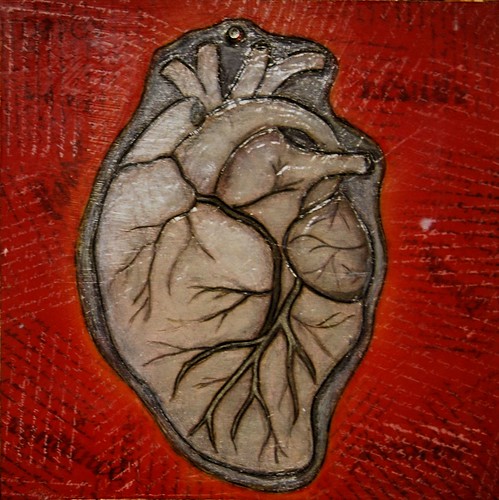
I wanted a little bit of dimension on the milagros so I used several carefully placed layers of Golden's clear tar gel with the teeny-tiniest bit of Lumiere mica powder mixed in.
I also played around a little with a handwriting rubber stamp, some basic masking techniques and two different inks (for some hard-core masking techniques and tools, check this out). The first layer of stamping is under the background color and I used StazOn black permanent ink. I love StazOn, which isn't much of a surprise since Tsukineko also makes the Fabrico double-tipped fabric marker which is one of my staples for art quilts (remember my art quilts? I barely do).
I used Brilliance Moonlight White pigment ink (yeah, by Tsukineko again) for the top layer of stamping/masking. This time, I thought it would be fun to add some embossing powder - here's a tip: careful you don't end up melting or bubbling your acrylic layers with your heat gun... that is, unless you're going for that look. I liked the way that the white really stands out where the embossing powder stuck to the pigment inks, even with another layer of acrylic glaze over it. I'm filing that experiment away as "successful."
In between the layers of stamping I used one of my favorite transfer techniques - good ol' packing tape and my Epson inkjet printer. For those of you about to try this, you can use all kinds of images to transfer - newspaper clippings, laser copies, inkjet prints, magazine photos, etc. Results will vary depending on the quality and water soluability of the ink transfered. You can also use clear Contac paper for large images. I like these techniques over gel medium image transfers because I get a very thin transfer very QUICKLY.
For the edges, I had planned to use aluminum HVAC repair tape (I don't have a favorite brand so just Google it, folks) plain and simple, but once I got it on there it just looked too dangded shiney. Adirondack alcohol inks to the rescue (in oregano, caramel and latte)! I used their ink applicator tool (you could use cotton balls, but I like the convenience and tidy nature of the applicator) to dab the various colors on, then I sprayed it with some rubbing alcohol and let everything dry. I topped the whole frame off with a very carefully applied layer of matte acrylic topcoat.
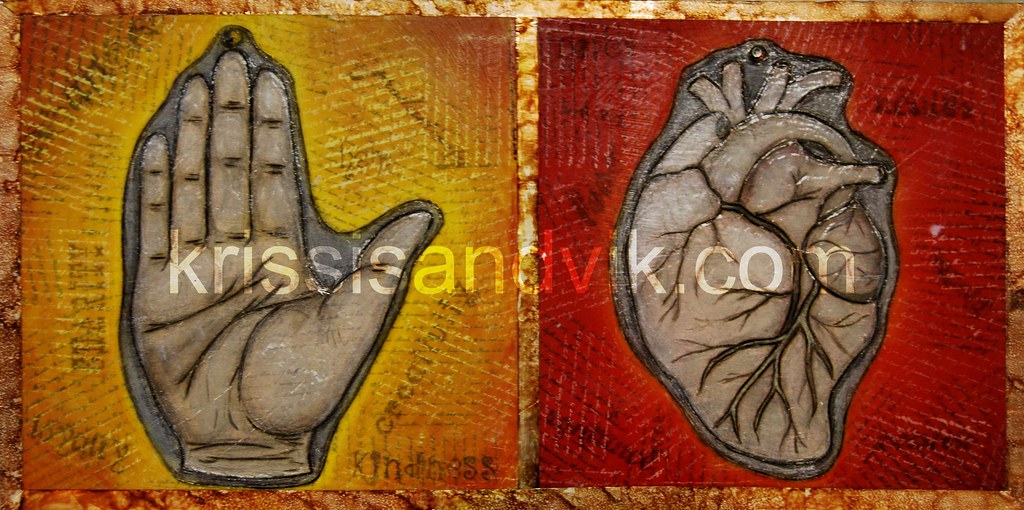
Well, I guess that's it! If you just happen to like it as a pretty picture it's called "Praying For (big) Miracles and is 24x12". If you would like to have it for your very own, it is "$100 and available through Side Show Studios until March 10th.
Thanks for reading and happy experimenting!
Looks Great Krissi!
ReplyDeleteI had a chance to stop by the Tsukineko booth last month. They were giving lots of cool demo's. I managed to learn a few tricks. :D
Saludos,
Yoli
I will expect a full report. Let's say... SUNDAY?
ReplyDeleteSi, Si!
ReplyDelete