Saturday, October 2, 2010

YAY! Bewbies!

For the entire month of October, 8x10" prints of my painting "Survivor" will be on sale for only $8.50.  This sale may not be combined with other offers, but there is no limit on the number of these you can purchase, so if you want 10 of 'em, I'm happy to package them all up for you!


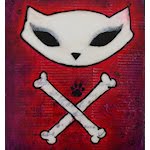
"Survivor" features a pink breast cancer awareness ribbon with butterfly wings in shades of purple, on a bright green background with inspirational words. This painting was created for a friend's wife, a breast cancer survivor, and is a representation of her tattoo.

And as always, you can get deals on my other prints by buying multiples - there are 2 for $22, 3 for $33 and even 5 for $45 deals.

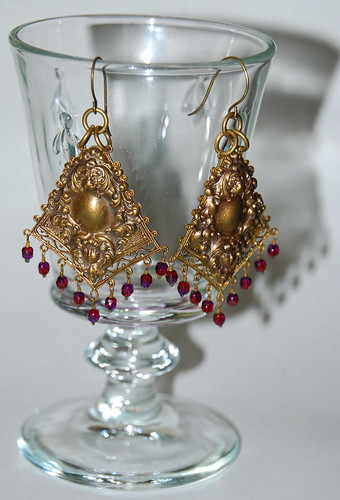
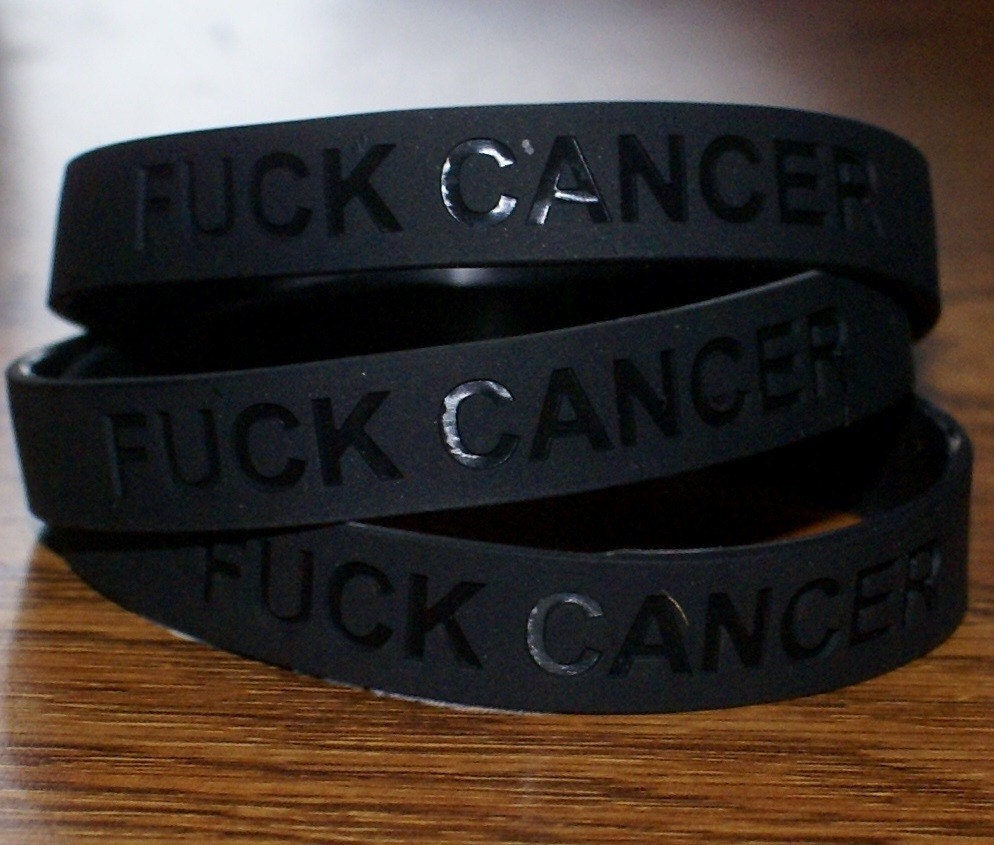
Oh, and speaking of cancer, my pal Mo Love of Madd Style fame is still running her Cancer Fund of America campaign!  ALL profits from listings in the CFA section of her shop will be donated.  She has LOTS of awesome lip products, goodies and... THESE babies!


Thanks for reading. Now go FEEL YOUR BOOBIES!
Read more ...

Wednesday, September 8, 2010

Krissi's F#@% Up Studio (Bloopers & Outtakes #1)

'Cause I'm just plain ol' silly most days.

Read more ...

Saturday, July 17, 2010

Revel in your Geekocity!

I understand there is now an "Embrace your Inner Geek" day (July 13th).

OK.  Fair enough....

But in all honesty, I'm not sure I HAVE an inner geek - I think everything geeky and dorky is pretty much out there for all to see.  I mean, I open my mouth and I'm sure people mentally label me DORK! within the first 2.25 minutes.  Maybe less.  I was called an egghead in college for reading Hamlet instead of watching the Superbowl but I figured I didn't go all the way to Oxford, England to do stuff I didn't like when I was in the US!

Of course, there are some who mistakenly label me cool, but I can say with some assurance that they're just as much of a doofus as I am and it is actually an attempt to reconcile their own feelings of being a complete and utter goober with the need to relate.  The cool label also comes from those who have their geek buried  deep within and are not giving it the hugs that it needs.  Heck, they may not even know it's there.

Of course, the worst label we geeks get isn't a word, it's a tone of voice.  Anger.  These people have no geek in them  and, fearing what they do not know, make fun of it - this geekless state is such a frightening concept that I dare not explore it any further.  I liken it to not having a soul.  ::shudder::

Anyway, no matter where your personal geek resides, find it and give it a hug.  And maybe a cupcake.  With sprinkles.

Now go make one of these:
River Song's book of spoilers, aka the TARDIS/time travel diary
Here.  I'll show you how.

Read more ...

Friday, July 16, 2010

Show N Tell / Stuff N Things (SNT2) #1

Hi all!

As you must certainly know by now, I love "stuff,"   My newest acquisition was given as a birthday present by my LSH (Long Suffering Husband) - a laptop equipped with a webcam!  That means I can start sharing my STUFF collection with all of you!  Hoorah!  Here is my first Show N Tell of Stuff N Things (SNT²).

Curtain please...


LINKS!  LINKS!  LINKS!
Website/shop (facebook fan page)


- Ant Farm Studio  (facebook) Skeleton Kitty box. Skullie yo-yo & painted snake
- KissZombies DIY  (facebook) Zombie/Skeleton hand hair clips
- Ms. Formaldehyde  (facebook) Plumeria hair clips
- Glittersniffer Cosmetics!  (facebook) pigment as nail polish
- Madd Style Designs - (facebook) lip balms
- Juli's Jewels - (facebook) 2-sided soldered/glass pendant (art by Krissi's Art Studio)


PLEASE NOTE: all of the items featured in this video were paid for (cash or in-kind), with the exception of the Skeleton Hand clips, which were a birthday gift and not given in return for a review.
Read more ...

Monday, July 5, 2010

FAQs Answered: How do you make your prints?

I get this question all the time (*cough* 50% of the time it's from people who don't want to do their own research *cough*).   I photograph, crop, color correct, digitally manipulate (if necessary to reposition aspects to fit in 8x10 aspect ratio) and print all of my pieces myself.
  • Camera: I have a Nikon D40X camera and use a tripod and a Tamron 18-270 lens with vibration control.
  • Software/hardware: I use a variety of software including Corel PaintShop Pro, Adobe Photoshop Elements and Gimp.  Sometimes I edit with a mouse and sometimes I use my Wacom Bamboo graphics tablet and pen.
  • Printer/inks: I use an Epson Stylus Photo printer with fade resistant pigment inks, professional photo paper and package using archival quality bags and backings (available at clearbags.com)
And sure, there are other easier and more cost effective ways to make prints, but my hand-made process allows me to keep an eye on the quality and to offer prints of each and every painting requested, not just the most popular ones.
Read more ...

Friday, May 21, 2010

First Public Art Project

One of my business goals for the year was to find and push the limits of my comfort zone.  Now it may not seem scary to you, but I was in a perpetual state of terror last year when I was talked into drawing Skelekitty live and in public for last year's "Chalk It Up to Sacramento" festival.My square for Body Tribe  While there were a few snotty comments within earshot (rude!), any irritation or humiliation I might have suffered was pretty short-lived, since the medium was chalk on sidewalks and therefore faded pretty quickly.

I'm not entirely sure if I'll be doing Chalk It Up again in 2010 - it will pretty much depend on whether I can find a good match for Skelekitty or one of my "Krissi's Art Studio" images.  If you have ideas for a potential match with a local business, let me (or the business) know, OK?

So this spring, when I heard that the Sacramento Art Complex were looking for local artists to paint  Sacramento News & Review newsboxes, I was totally on board and volunteered before the terror or reality of project scope entered my brain.  I had just under a month to pull this project off and, somehow, I managed:
my Art Newsbox for SN&R
[click for large version]
"Heart of the Underground" mixed-media art newsbox by Krissi Sandvik 2010.  "My inspiration for this piece was the Midtown art & music scene, which is the heart of our City of Trees. Drawing on various cultural images, I decided on a blossoming tree of life growing from a heart. This symbol of the city is surrounded by layered images of newsprint, handwriting and sheet music on a blue sky."


Several artists have asked me for the techniques I used to create this piece and, while I really would LOVE to provide everyone with a Krissified step-by-step tutorial in excruciating detail, the truth of the matter is that I'm behind on my commissions and this artist needs to get back to the stuff that pays the bills.  Besides, someone else has already written up a DIY; as a matter of fact, this is where I got the idea in the first place: DIY Custom Roundels by "nadaclue" on Z4Post.com

By the way, this dude is a paint chemist, so I had some well-placed faith in his approach.  I used all of his prep/priming techniques and products (which I found easily in the automotive section at my local OSH) except that  I did not bother to remove the original paint.  I did, however, sand the entire box with a couple of medium grit sandpapers and a palm sander before spraying the first layer of self-etching primer.  Rather than coating the box with a gloss white under the art, I replaced the sandable primer with a matte white primer by Rustoleum which gave me an even white surface that still promoted adhesion of my paints (yes, if you read the tutorial that is about 3-5 coats of just PRIMER!).

The actual painting / mixed-media work was created using the same products and techniques I use on all my art (except for the pyrography). After all of the hard work I put into this, including hand painting all of those little flowers (10 brushstrokes EACH), I was sure to seal this piece with the automotive gloss sealer he also used on his project.  Several coats. 

The entire project took most of a month to complete because of the huge amount of time for prep (1-2 days), the long drying time required by the glazing techniques I use and the fact that I'm SUPPOSED to have a life outside of my studio.  I'd say there was probably about 60 hours of work that went into this when all was said and done.

"Heart of the Underground" Art Newsbox - finalYou can see the original along with boxes painted by other local artists this weekend at the Sacramento Art Complex "Art Happens at The SAC" benefit and fundraiser - 2110 K Street in Midtown Sacramento.


UPDATE! My box is located on the corner of K & 16th Streets.  In case you want to stop by and give it some love (i.e., peel off stickers that weren't put there by SN&R).
Read more ...

Thursday, May 20, 2010

What made you try pyrography?

I've been fascinated with pyrography (literally, burn drawing – in my case on wood) for a while as a decorative craft, probably because my father was a woodworker when he wasn't practicing law. However, I didn't pick up an actual wood burner until 2006, when I took a mixed media class. Although wood burning was not the central theme of the course, it was something that I enjoyed and therefore continued to practice until it became part of my signature look. Over the last 4 years, I add dimension to all the pieces I have worked on ... well, the ones on burnable surfaces, at least.

Ask me anything about my art, makeup, hair or life!

Read more ...

Friday, April 23, 2010

Schnauzer With A Mohawk

OK.  I know I have been remiss in posting, so to tide you all over while you wait for the good stuff - check out this awesome doggy from our local park.
Schnauzer with a mowhawk!

In the near future, you can expect full posts on:
  • The Crafty Chica Cruise
  • project updates
  • review on Glittersniffer Cosmetics! pigments and products
  • artists to watch
  • at least ONE new tutorial
  • Skelemobile update

and some posts about, on or by some of my readers.

Until then, my faithful readers, try to be as awesome as this pooch.  I know I will (try, that is).

xo

Krissi
Read more ...

Monday, March 22, 2010

OMG! How Did I NOT Know This Existed???

Did you (or perhaps your brother) build models when you were a kid?  Remember the super cool "water slide" decals that you used to put the Union colors on your Sopwith Camel?  (Oh, tidbit o' info, the British flag is only the "Union Jack" at sea - at all other times, it is the "Union Flag.")

Well, now you can make your OWN water slide decals at home without any special sign making equipment.  All you need is an inkjet printer, a paper-backed film made for just such a purpose and some clear spray paint.  I found this amazing little piece of information while researching a DIY tutorial for customizing car "roundel" badges.  Chad used some sandpaper, elbow grease, primer and the decals to turn these:

into these!

As soon as my replacement roundels arrive (I found the oddly sized ones for the Z4 MC at Bavarian Autosport, but the two fender badges are on backorder for a couple weeks), I will be making custom badges for the new Skele-mobile.  Imagine, if you will, this photo replacing the usual blue & white logo badges:

YEAH, BABY!

OK, so I probably already knew that inkjet water-slide decal paper existed, but never actually saw it in any of my art/craft supply stores and none of my crafty friends introduced me to it.  So off I went to the link Chad provided on his tutorial to purchase some of the paper backed printer film and found some other goodies that were so awesome, that I almost fell out of my chair!

Temporary tattoo paper

Yeah, I know, this has been around forever too, but now you aren't just stuck with whatever flash-type tattoos get passed out at county fairs.  You can turn your own art into temporary tattoos!  Soon I can turn out new Skelekitty designs as temporary tattoos like *snap* that.  I plan to give these these out as freebies at art shows, for inclusion art and print orders and application to my local 'tween fans, and seriously, how much fun is that?


Rub on decal paper

Anyone who has scrapbooked or done even a small amount of mixed-media or collage projects has used or at least seen rub on decals.  They have nearly invisible edges (not like clear stickers or tape transfers), are easy to find in your local craft supply store and come in some really wonderful colors and intricate designs.

But what if you want to add text or an image you can't find?  Well, sure, you could go the tape transfer route, but what if you don't have a laser printer or access to a photocopier for a nice crisp transfer?  Well, you could print onto a clean transparency and then use it like a rub on, but again, the transfer isn't perfectly crisp.  Enter dry rub-on transfer paper which you can find in all kinds of online shops (there is also a line created specifically for use on wood!).  The only drawback of making your own over purchasing them from the stores (besides the obvious copyright issues) is that you can't make them in white.  Still...!  I'm looking forward to using it for adding custom text to my art projects.

Again, there are lots of companies in the US, Canada and the UK which offer these products.  I'm sure you can even buy them from some local print specialty shops.  When my orders arrive, I'll play around and post some tips on using them.

Enjoy!  Krissi

Have you created your own tattoos, stickers, rub-ons or auto decals?  Send me a link to your tutorial and I'll post it!
Read more ...

Friday, March 5, 2010

Swag From A Cross-Dressing Cat

I just opened a mail package from my pal Amy of Oblinaknit to find the  super cool hot pink custom "Zip It" and "Wristlet" I ordered!  When the sun comes back up tomorrow I'll take some snaps of the inside - I love the linings in both pieces, but the bees inside the wristlet are to DIE for!
oblinaknit goodies


She also sent along some cool swag, including:
  • a REALLY cute heart shaped white & pink keychain (is that perfect timing or what, 'cause I picked up what is going to become the Skelekitty-mobile today!). 
  • some FREAKIN' adorable 1" buttons and oversized postcards of her fabulous cross-dressing, fruity hat-wearing kitty, Ken.  
I'll be taking the pins (minus one for my denim jacket, of course) and the post cards with me to give away on the Crafty Chica Cruise next month.

...

But wait, do you think I give some away here too? (I know you'll say yes, but tell me how I should decide who gets 'em. AND BE FAIR!)

Oh, wait!!!  Before you go off on a commenting rampage asking for one of these super cute kitty diva pins/post cards, did I mention that Amy also makes jewelry as "Oblinaknit Bejeweled?"  Ken swiped these earrings off of her work table and mailed them to me for my birthday last June after I shamelessly drooled over them online.
Earrings by Amy Kozak
Read more ...