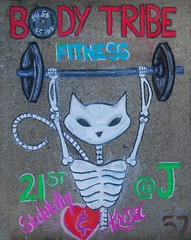
 While there were a few snotty comments within earshot (rude!), any irritation or humiliation I might have suffered was pretty short-lived, since the medium was chalk on sidewalks and therefore faded pretty quickly.
I'm not entirely sure if I'll be doing Chalk It Up again in 2010 - it will pretty much depend on whether I can find a good match for Skelekitty or one of my "Krissi's Art Studio" images. If you have ideas for a potential match with a local business, let me (or the business) know, OK?
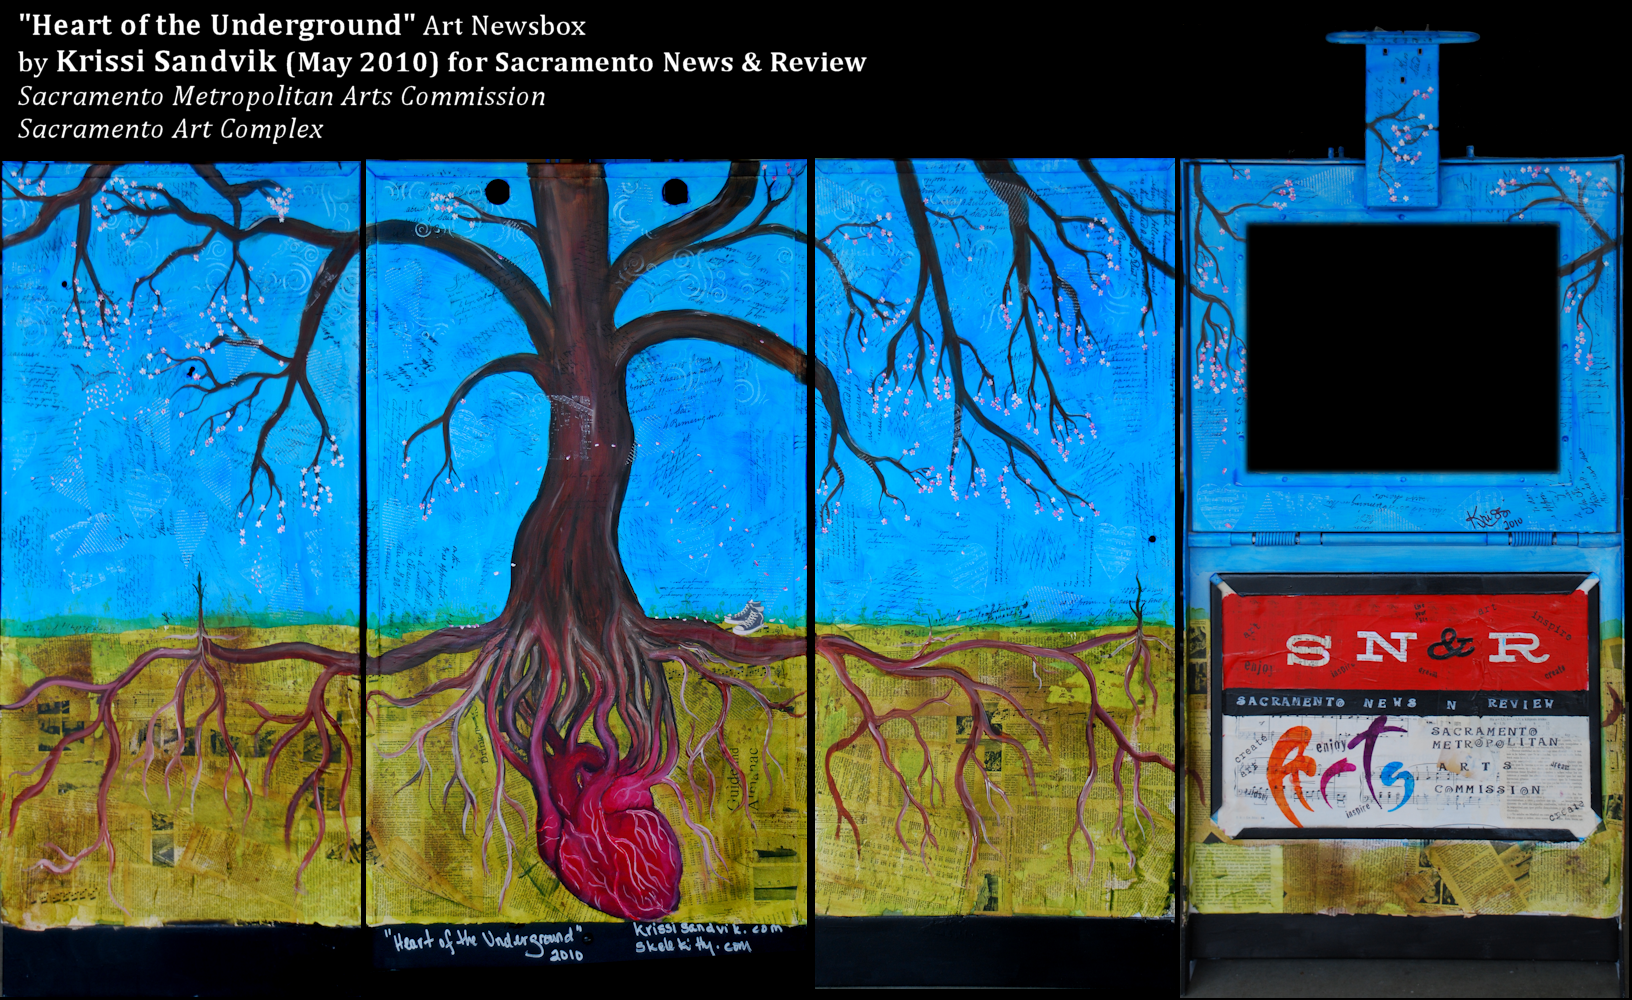
So this spring, when I heard that the Sacramento Art Complex were looking for local artists to paint Sacramento News & Review newsboxes, I was totally on board and volunteered before the terror or reality of project scope entered my brain. I had just under a month to pull this project off and, somehow, I managed:
Several artists have asked me for the techniques I used to create this piece and, while I really would LOVE to provide everyone with a Krissified step-by-step tutorial in excruciating detail, the truth of the matter is that I'm behind on my commissions and this artist needs to get back to the stuff that pays the bills. Besides, someone else has already written up a DIY; as a matter of fact, this is where I got the idea in the first place: DIY Custom Roundels by "nadaclue" on Z4Post.com
By the way, this dude is a paint chemist, so I had some well-placed faith in his approach. I used all of his prep/priming techniques and products (which I found easily in the automotive section at my local OSH) except that I did not bother to remove the original paint. I did, however, sand the entire box with a couple of medium grit sandpapers and a palm sander before spraying the first layer of self-etching primer. Rather than coating the box with a gloss white under the art, I replaced the sandable primer with a matte white primer by Rustoleum which gave me an even white surface that still promoted adhesion of my paints (yes, if you read the tutorial that is about 3-5 coats of just PRIMER!).
The actual painting / mixed-media work was created using the same products and techniques I use on all my art (except for the pyrography). After all of the hard work I put into this, including hand painting all of those little flowers (10 brushstrokes EACH), I was sure to seal this piece with the automotive gloss sealer he also used on his project. Several coats.
The entire project took most of a month to complete because of the huge amount of time for prep (1-2 days), the long drying time required by the glazing techniques I use and the fact that I'm SUPPOSED to have a life outside of my studio. I'd say there was probably about 60 hours of work that went into this when all was said and done.
 You can see the original along with boxes painted by other local artists this weekend at the Sacramento Art Complex "Art Happens at The SAC" benefit and fundraiser - 2110 K Street in Midtown Sacramento.
UPDATE! My box is located on the corner of K & 16th Streets. In case you want to stop by and give it some love (i.e., peel off stickers that weren't put there by SN&R).


I LOVE LOVE LOVE this project! I wanna be like you when I grow up, Miss Krissi!
ReplyDeleteAlisa
Thanks Alisa, but I think one of me is PLENTY. Besides, I love you being you!!
ReplyDelete